Hair Henna
Henna Hair Dye: Complete Guide
Copper, brown or near-black from a plant: choosing body-art-quality henna, mixing it, layering indigo, applying, rinsing, and the safety line you must never cross.
Henna hair dye is the oldest hair colour on earth, and it works nothing like a bottle from the chemist. There is no ammonia, no peroxide and no lifting of your natural colour. Instead a single plant dye called lawsone stains the outside of each strand a warm red-copper, and if you want anything browner or blacker you reach for a second plant, indigo, to layer over it. That is the whole system. This guide walks you through choosing body-art-quality powder, mixing it for a proper dye release, hitting the tone you actually want from copper to near-black, a full application from start to rinse, the 48-hour oxidation, and the maintenance rhythm. It ends with the one warning that matters most: never gamble by mixing henna with chemical dye, and never buy a "compound" henna cut with metallic salts or PPD.
The short version
- One dye, one plant: lawsone from henna stains hair a permanent red-copper. It cannot lighten.
- Brown and black come from indigo, a second plant layered over or mixed with the henna.
- Body-art quality only. Buy pure powder with a lawsone percentage stated and nothing else in the bag.
- The colour matures for 48 hours. It looks bright orange on day one and settles darker by day three.
- Never mix chemistries. Keep chemical dye, bleach and "compound" hennas well away from real henna.
How henna hair dye actually works
Henna colours hair by exactly the same reaction it uses on skin. The dried, powdered leaves of the henna plant release lawsone, a red-orange dye molecule, and that molecule bonds to the keratin protein your hair is made from. The bond is chemical, not a coating, which is why henna colour does not wash out the way a semi-permanent box dye does. It stays until the strand grows out or is cut. If you want the full chemistry of that lawsone-to-keratin bond, our explainer on henna stain science covers it in depth, and every word of it applies to hair as much as to a bridal palm.
The single most important thing to understand before you start is that henna is a stain, not a paint, and it can only add colour. It cannot remove any. There is no plant on earth that lightens hair, so henna will not take a dark head lighter and it will not cover grey with grey. What it does is lay a translucent red over whatever colour is already there. On grey and white hair that red reads bright and vivid; on dark brown it reads as a subtle warm sheen you mostly see in sunlight; on light brown it lands somewhere in between. Your starting colour is half of your result, which is why two people using the same powder can end up looking quite different.
Henna wraps the strand from the outside and bonds to surface keratin. That is why it builds up with repeat use and why it behaves so differently from a dye designed to penetrate the cortex.
Step one: buy body-art-quality henna, nothing else
The single decision that determines whether this goes well is the powder you buy. You want what sellers call body-art-quality or BAQ henna: pure, finely sifted Lawsonia inermis leaf powder and absolutely nothing else. A good bag states a lawsone or dye content, usually somewhere between 2 and 3 percent, and lists one ingredient. It should smell green and grassy, like dried spinach or fresh hay, and it should stain a test patch of skin orange within an hour.
What you must avoid is anything sold as a boxed "henna hair colour" in shades like black, brown, burgundy or blonde. Pure henna comes in exactly one colour, the red-copper of lawsone, so a powder that promises jet black or ash blonde has been mixed with something. These are the "compound" hennas, and the something is often metallic salts or a chemical dye. We come back to why that is dangerous at the end, but for now the rule is simple: if the bag offers you a choice of shades, it is not pure henna, so put it down.
Step two: mix the paste and wait for dye release
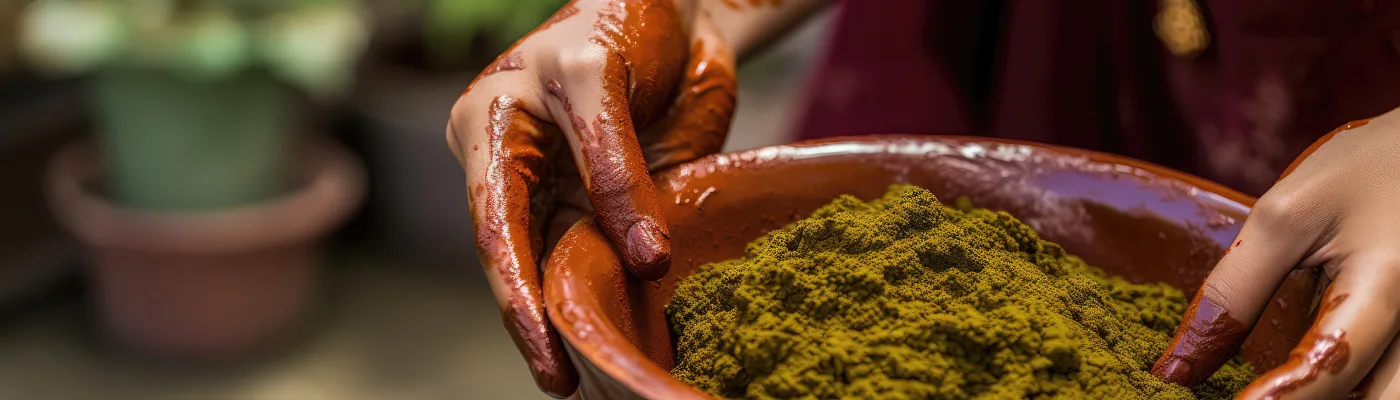
Henna powder does nothing until the lawsone is freed from the leaf, a process called dye release, and that needs a mildly acidic liquid and time. Tip your powder into a non-metal bowl and stir in warm water, brewed tea or a splash of lemon juice topped up with water, adding it slowly until you have a smooth paste roughly the thickness of yoghurt or mashed potato. Too runny and it drips off your head; too stiff and you cannot spread it. Cover the bowl with cling film and leave it somewhere warm.
Now wait. Depending on the powder and the room temperature, dye release takes anywhere from two to twelve hours. You will know it is ready when a faint darker halo of orange bleeds to the surface of the paste. Applying henna before it has released is the most common reason a first attempt comes out weak, because you are asking a dye that is still locked in the leaf to colour your hair. If you want to go deeper on the mixing side, the same acid-and-rest logic behind our stain science guide is what governs a good hair paste too.
BAQ henna powder
Pure, single-ingredient, finely sifted, with a stated dye content. Roughly 100g for short hair, up to 300g for long thick hair.
Mildly acidic liquid
Warm water, cooled tea or diluted lemon juice. Enough to reach a yoghurt-thick paste.
Applicator and gloves
A tint brush or gloved hands, plus disposable gloves. Henna stains skin and nails happily.
Barrier balm
A smear of oil or balm along the hairline and ears stops the stain marking your skin.
Cling film and old towel
Wrap the head to keep the paste warm and damp, and protect clothing you do not mind ruining.
Time
An hour or more of dye release, then two to four hours of the paste on your head. Set the day aside.
Step three: choose your target tone
This is where most of the confusion lives, so here is the whole map in one place. Henna on its own always lands in the red-to-copper family. To move browner or blacker you add indigo, the blue-black dye from the Indigofera plant. Indigo will not stain skin or hair on its own to any useful degree, but layered over a fresh henna base it turns the red down toward brown, and with enough of it, toward black. There are two ways to combine them, and they give different results.
A one-step method mixes henna and indigo in the same bowl and applies them together. It is quicker and gives soft, warm browns, but you cannot push it to a true black. A two-step method applies pure henna first, rinses, then applies pure indigo as a second coat on the same day. It takes twice as long but gives the deepest, most reliable browns and the only genuine near-black. The reason for the order is that indigo needs the henna-treated strand underneath it to hold; laid on bare hair it fades within a wash or two.
| Target tone | Mix | Method |
|---|---|---|
| Bright red / copper | Pure henna | One application, rinse, done |
| Auburn / warm red-brown | Mostly henna, a little indigo | One-step, mixed in the same bowl |
| Medium brown | Roughly half henna, half indigo | One-step, or two-step for depth |
| Dark brown | Henna first, then more indigo | Two-step, same day |
| Near-black | Henna first, then heavy indigo | Two-step, longer indigo sit |
How the red shifts as you add indigo
Same henna base, increasing indigo. The bar shows how much of the final look is warm red versus cool brown-black.
Step four: apply the paste, section by section
Work on dry, clean hair with no conditioner or product in it, because a residue-free strand takes the stain most evenly. Put on your gloves, run a smear of barrier balm along your hairline and over the tops of your ears, and drape an old towel over your shoulders. Divide your hair into four sections and clip three out of the way.
Take the first section and apply the paste generously from root to tip, the way you would butter thick bread, making sure every strand is coated rather than just painted on the surface. Henna is heavy and forgiving, so err on the side of too much. Work section by section until your whole head is covered, then pile the pasted hair on top of your head and wrap it snugly in cling film. The wrap matters: it keeps the paste warm and stops it drying out, and a warm, damp paste releases and bonds far better than a crusty one. If you like, wrap a towel over the film to hold the heat in.
Step five: timing and the rinse
Leave pure henna on for two to four hours for a rich colour; a shorter one-hour sit gives a lighter, more translucent result. Indigo, whether mixed in or applied as a second step, wants a similar one to two hours. Longer does little harm with plant dyes, so if in doubt, leave it the full time rather than rushing.
Rinsing henna out is the fiddly part, because the paste is gritty and clings. Rinse with plenty of warm water and, crucially, no shampoo on the first pass. A little conditioner worked through helps the grit slide out. Keep rinsing until the water runs mostly clear. Then leave shampoo out of it for the next day or two if you can, because the colour is still settling and an early wash can lift some of the fresh dye. If you are doing a two-step colour, this is the point where you rinse out the henna, towel-dry, and go straight into applying the indigo.
Step six: the 48-hour oxidation
Do not judge your colour when you step out of the shower. Freshly rinsed henna is bright, almost pumpkin orange, and it can be a genuine shock the first time. This is completely normal and it is the same oxidation you see with a skin stain. Over the next 24 to 48 hours the colour oxidises in the air and deepens, settling from that raw orange down into its true rich red, auburn or brown. A two-step indigo colour goes through an even more dramatic shift, often looking green-tinged or muddy at first and only resolving to its proper brown or black over a couple of days.
The practical takeaway is patience. Colour that looks alarming on day one almost always looks right by day three, so resist the urge to re-dye or strip it in a panic. Give it the full 48 hours before you decide anything at all.
Step seven: maintenance and root touch-ups
Because henna bonds to the strand and does not wash out, you never face the harsh regrowth line that permanent chemical hair colour leaves. The colour on your lengths stays put; only your new growth comes in uncoloured. That means maintenance is just root touch-ups, and how often depends entirely on how fast your hair grows and how visible your natural colour is against the henna. Most people redo their roots every three to six weeks.
For a root touch-up, mix a smaller batch, let it release, and apply only to the new growth at the scalp, feathering it slightly into the older colour so there is no hard join. Because henna is translucent and builds up, dragging fresh paste through the already-coloured lengths every time will slowly make your ends darker and denser than your roots, so touch up the roots and leave the rest. An occasional full-length refresh once every few months is plenty to keep the whole head even.
The safety line you must not cross: never put chemical dye or bleach over henna, or henna over freshly chemically-treated hair, without a strand test and ideally a long gap between them. The real danger is "compound" henna, powder cut with metallic salts to fake black or brown shades. Those salts can react violently with the peroxide in a later chemical dye or perm, producing heat, smoke, breakage and, in bad cases, hair that melts. Separately, any product that lists or hides para-phenylenediamine (PPD), the additive behind "black henna", can cause severe allergic reactions, blistering and lasting sensitisation, and is not approved for use on skin. Buy single-ingredient body-art-quality henna, do a patch and strand test, and if you ever plan to switch between henna and salon chemistry, tell your stylist you have used henna so they can test first. We cover the reaction risks in full in our guide to henna hair side effects.
Is henna hair dye right for you?
Henna rewards some people and frustrates others, and it is worth being honest about which you are before you commit, because the colour is very hard to remove once it is in. It suits you if you want warm red, auburn or rich brown tones, if you like the idea of a dye that also thickens and conditions the hair, if you are covering grey, or if you specifically want to avoid ammonia and peroxide. It is a poor fit if you want to go lighter, if you like changing your colour often, if you want cool ash or platinum tones, or if you plan to keep using salon chemical services and do not want to complicate them. If that describes you, a conventional dye is the simpler path. For a fuller look at the benefits and the conditioning effect, our overview of henna for hair lays out the whole case.
Henna hair colour in pictures
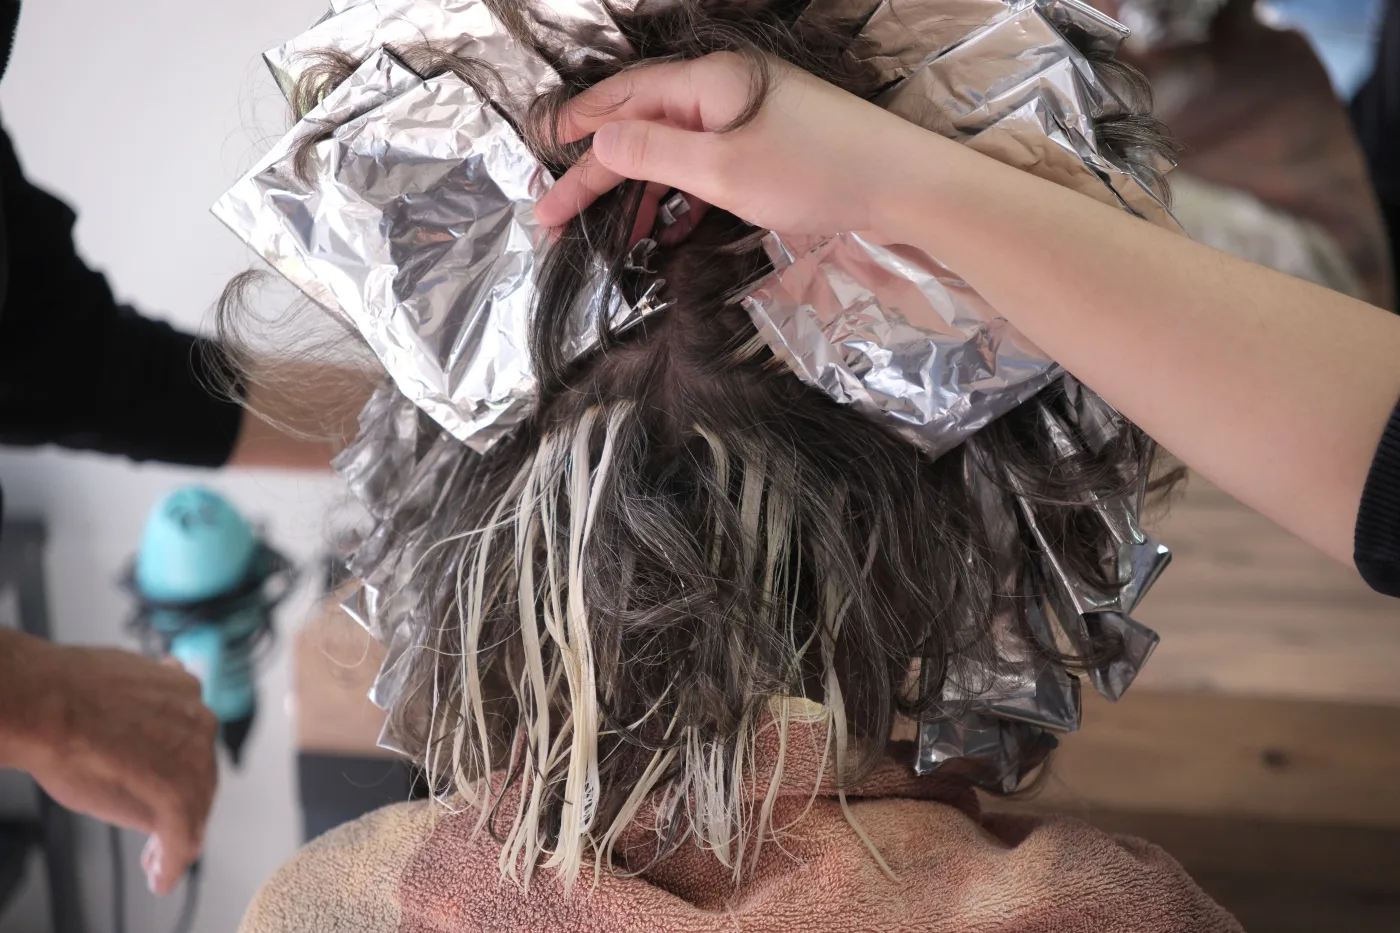
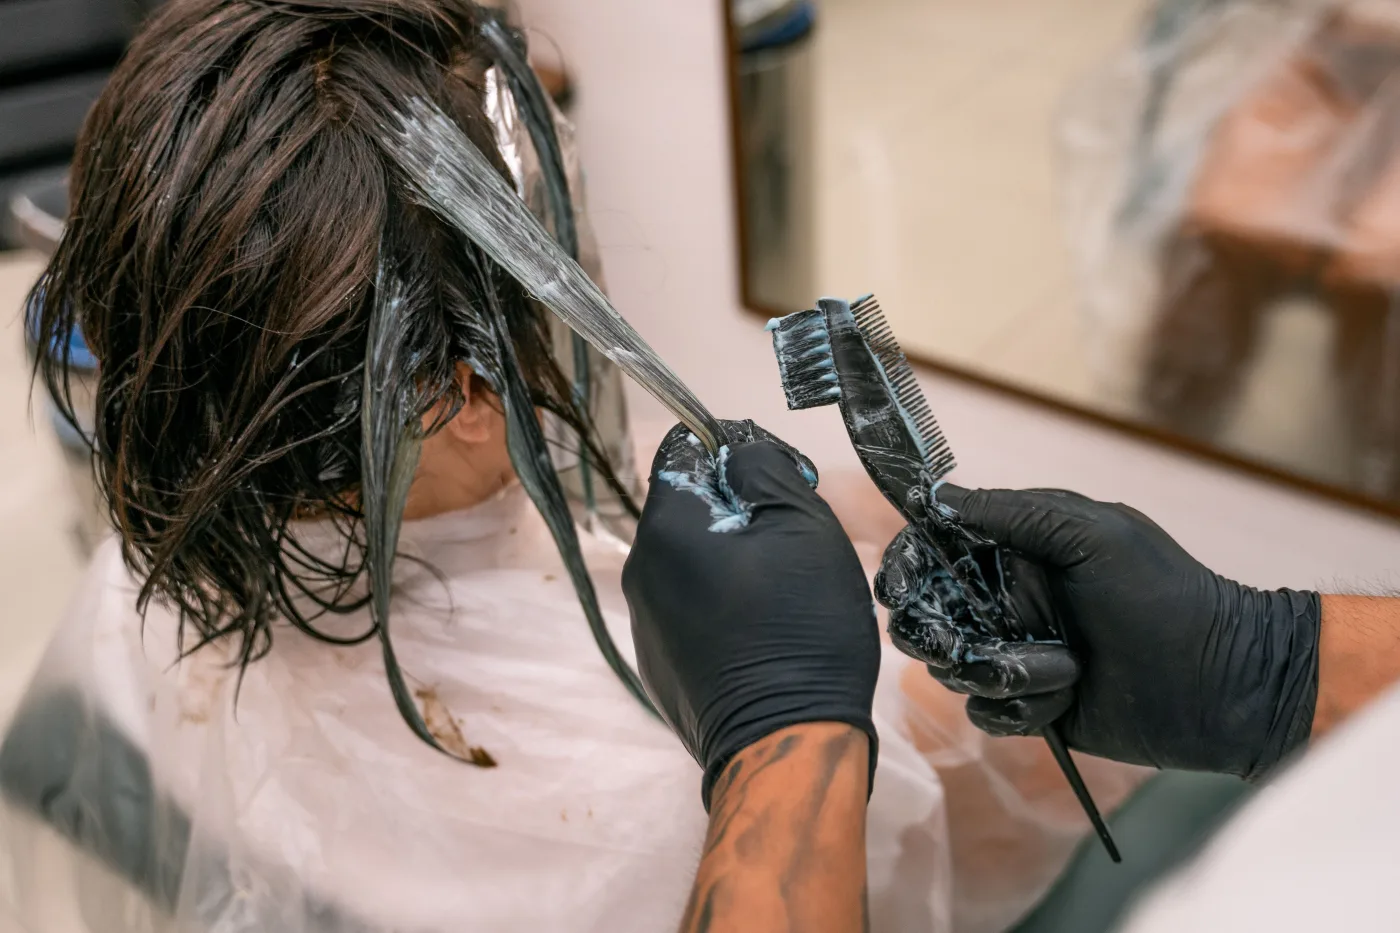
A few real examples worth saving. Screenshots communicate far better than words, so take the ones you like to your artist.
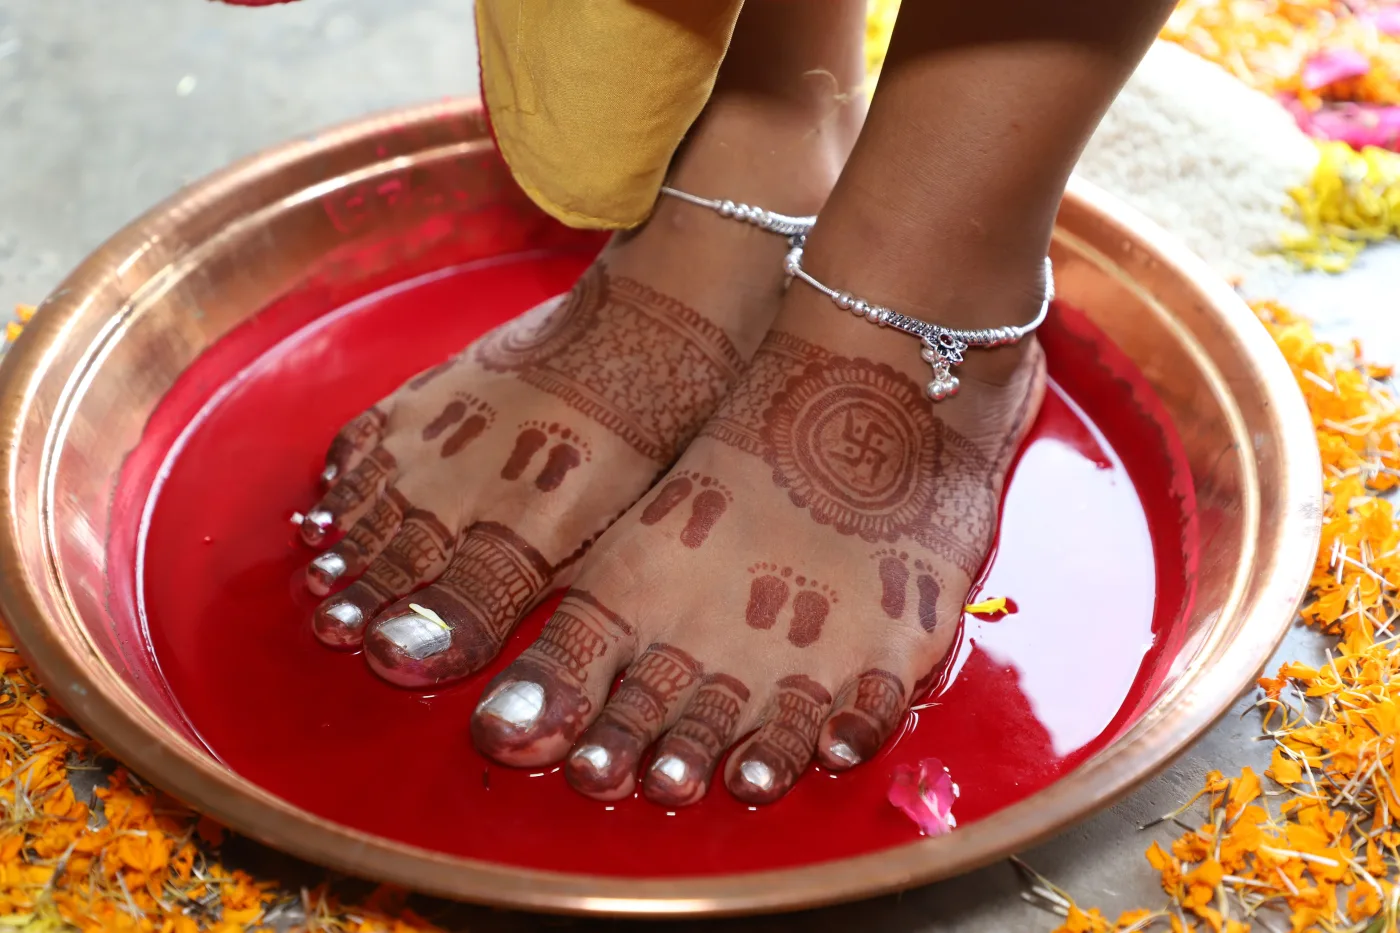
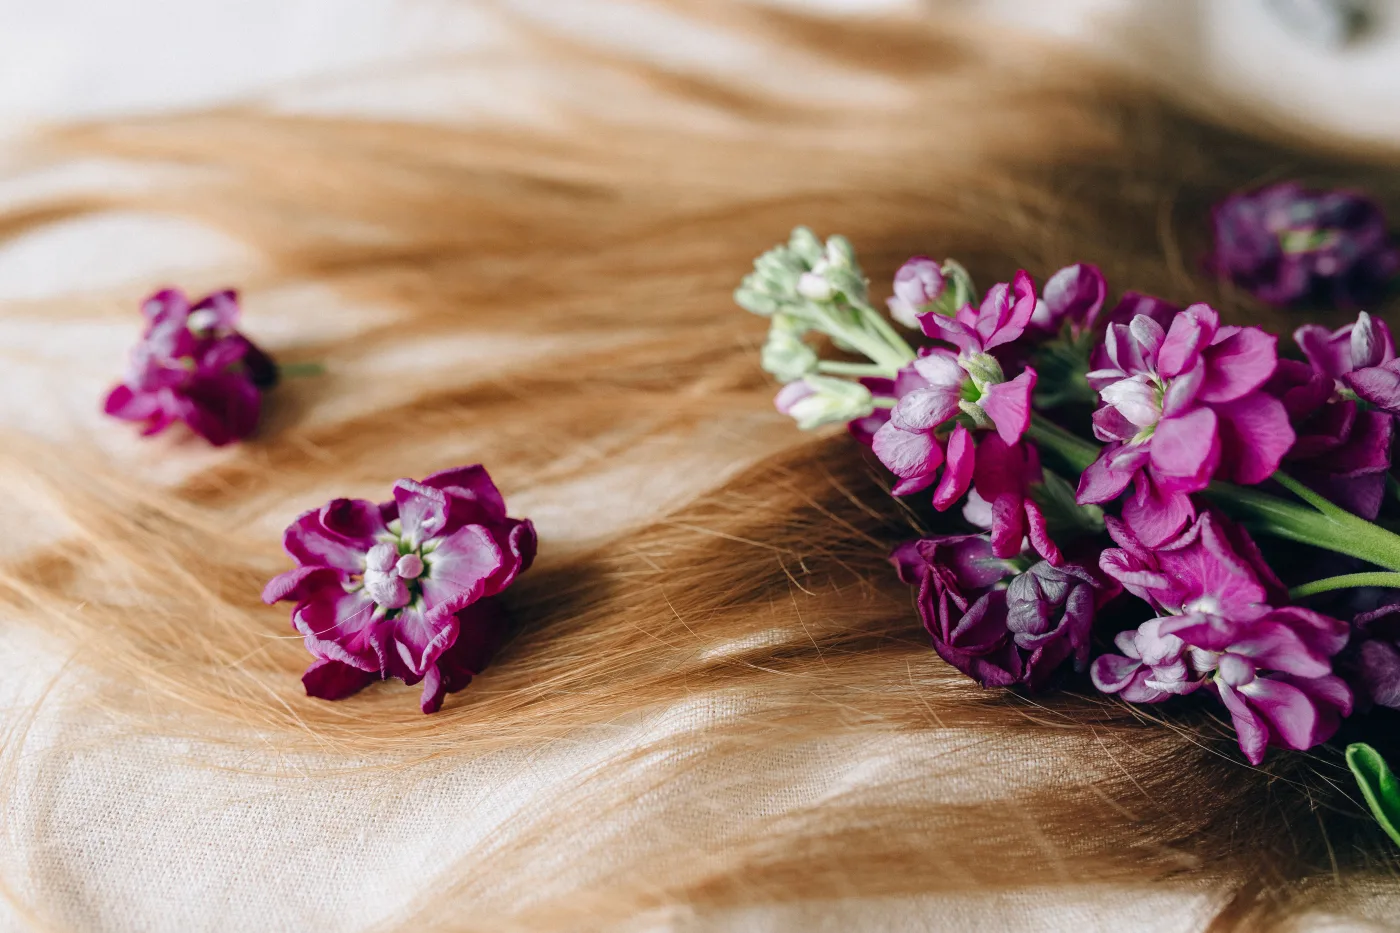
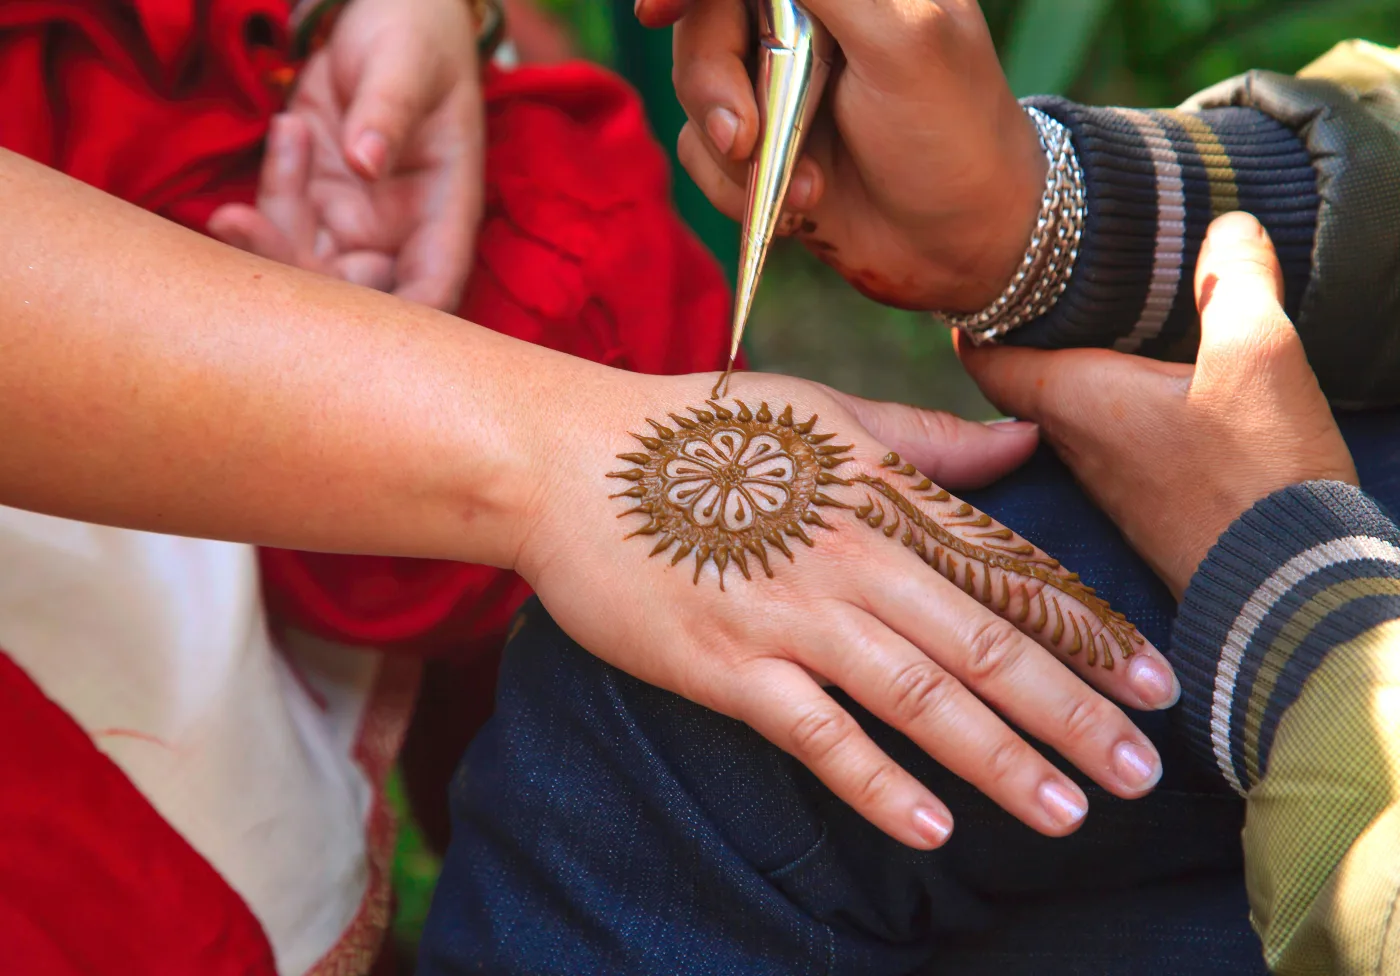
Photos provided by Pexels.
Frequently asked questions
Can henna dye my hair any colour I want?
No. Pure henna only ever gives a red-copper stain, and it can only add colour, never lighten. To reach brown or black you add indigo over a henna base, but you still cannot go lighter than your natural shade, and you cannot get blonde, ash or truly cool tones from plant dyes. Your starting colour always shows through, so the same powder gives a vivid result on grey hair and only a subtle warm sheen on dark hair.
How do I get black hair with henna?
True black needs a two-step method. You apply pure henna first and rinse it out, then apply pure indigo as a second coat the same day and leave it one to two hours. The henna base is what lets the indigo hold, which is why a one-step mix of the two in the same bowl gives brown at best, not black. Expect the colour to look muddy or green-tinged at first and to settle to its proper near-black over about 48 hours.
Why did my henna come out bright orange?
Bright orange straight after rinsing is completely normal, not a mistake. The fresh lawsone stain is orange and it oxidises and deepens over the next 24 to 48 hours into its true red or brown. Judge the colour on day three, not on day one. If it stays too bright for your taste even after it has settled, that simply means you want some indigo in the mix next time to cool the red toward brown.
Can I use chemical dye or bleach after henna?
With pure body-art-quality henna it is possible but you must strand test first, because plant henna can still make the result patchy or unpredictable. With "compound" henna the answer is a firm no without professional help: the metallic salts some cheap hennas contain can react dangerously with peroxide, causing heat, breakage and even hair that melts. Always tell your stylist you have used henna so they can test a hidden strand before applying any chemical service.
How long does henna hair colour last?
Effectively forever on the strands it has coloured, because the dye bonds to the keratin and does not wash out. It fades only very gradually and never leaves a harsh regrowth line, so maintenance is just touching up your new root growth every three to six weeks. The trade-off is that the colour is very difficult to remove, so it is worth being sure before your first full application.
Is henna hair dye safe?
Pure, single-ingredient henna is one of the gentlest colours you can use, with no ammonia or peroxide, though a small number of people are genuinely allergic to the plant, so a patch test is still wise. The real risk comes from adulterated products: "compound" hennas cut with metallic salts, and anything containing PPD, the additive behind "black henna", which can cause severe skin reactions. Buy pure body-art-quality powder with one ingredient listed and you avoid almost all of the danger.
Have a question or a topic to suggest?
We read every message. Tell us what you would like to see next on the blog.
Get in touchYou may also like
Henna for Hair: Benefits & Risks
An honest look at henna for hair: what it really does to the shaft, realistic colour results by starting shade, its permanence, downsides and PPD safety.
Henna Hair Side Effects
A balanced review of henna hair side effects. Pure henna is mostly safe but can dry or stiffen hair; the real danger is compound and black hennas with PPD.
The Chemistry of a Henna Stain
Henna stain science explained clearly: how lawsone bonds to keratin, why the stain starts orange then turns brown, and why palms stain the darkest.