Arabic mehndi
Arabic Strip Mehndi: Step by Step
The diagonal strip is the design that teaches most artists to draw. Here is the whole build in order, with figures for every stage, from marking the line to timing the stain.
If you only ever learn one Arabic layout, make it the diagonal strip: a single trailing vine that runs corner to corner across the back of the hand, with a few motifs hanging off it and clear skin left between them. It is the design that taught most artists to draw, because it forgives shaky lines, needs only five or six shapes, and still photographs like something planned. This arabic mehndi pattern tutorial walks the whole build in order, from marking the diagonal to the moment you scrape the paste off.
The short version
- Plan the diagonal first. One line from the wrist corner to the index knuckle decides everything.
- Vine before motifs, motifs before fill. Work big to small, never the reverse.
- Leave space on purpose. Arabic reads by shape, not texture, so gaps are the point.
- Colour is time, not pressure. Six to eight hours on the skin beats any squeezing.
Before you pick up the cone
You need a fresh cone with a fine, clean tip, a paper towel to burp air bubbles onto, and a steady surface to rest your wrist. Practise the release on paper for a minute: the paste should come out as a thin, even thread when you barely squeeze, and stop the instant you ease off. Most beginner problems are not shaky hands, they are a tip that is cut too wide or a cone squeezed too hard. Sit with your forearm supported, not floating, and draw with your whole arm rather than your fingertips.
The strip works on the back of the hand because that surface is broad, flat and slow to smudge. If this is genuinely your first design, read our companion overview of simple Arabic mehndi design and its motifs first, then come back here to actually draw one.
Step 1: Mark the diagonal
The diagonal is the spine of the whole design, and it is the one line you should plan before any paste touches skin. Picture a straight guide running from the outer corner of the wrist, on the little-finger side, up to the base of the index finger. That is your travel line. Everything else hangs off it. Getting this angle right is the single biggest difference between a strip that looks intentional and one that looks like it slid.
Do not draw the guide in henna. Either hover the empty cone above the skin and trace the path in the air two or three times until your hand knows it, or press a faint dot at each end with a cocktail stick so you have targets to aim between. The line should sit slightly off-centre so the fingers on one side have room to carry accents later.
Wrist corner to index base. The dashed line is imagined, not drawn. Every later shape references it.
Step 2: Lay the main vine
Now trade the straight guide for a gentle wave that follows it. A dead-straight vine looks mechanical; a soft S-curve that crosses the guide two or three times looks alive. Start at the wrist end, rest your little finger on the skin as an anchor if it helps, and pull one continuous line up towards the index base. Move steadily. Speed gives you a clean, even thread, while stopping and starting leaves blobs and joins.
Keep this first pass thin. You are laying the skeleton, not the finished weight. If you wobble, keep going: you can thicken the good side of the line on a second pass and quietly widen over any kink so it reads as intentional. One long vine with a confident curve beats three careful fragments stitched together every time.
A soft S that weaves across the guide. Drawn in one pass, thin, from the wrist upward.
Step 3: Hang the motifs
With the vine down, you decorate it rather than the whole hand. Arabic motifs are few and repeatable, so learn this handful and vary only their size. Alternate them along the vine, larger near the wrist where there is room and shrinking as the vine climbs into the fingers. Face the open, curling side of each shape outward, away from the vine, so the design seems to grow off the line.
Petal
A teardrop pulled to a point. Five around a dot make a flower; single ones fill short gaps.
Paisley
The bent teardrop, the boteh motif. Anchor the biggest one at the wrist end.
Leaf
A short teardrop with a centre spine. Pairs of them along the vine read as a growing branch.
Half-flower
A fan of petals off one side of the vine. Cheap way to add width where the line feels bare.
Bud cluster
Two or three tiny teardrops at a tip. They stop a motif from ending too abruptly.
A reliable rhythm for a first strip: one large paisley at the wrist, a five-petal flower a third of the way up, a pair of leaves above it, and a small half-flower where the vine reaches the knuckles. That is only four decisions, and it already fills the diagonal.
Big to small up the line: paisley, flower, leaves, half-flower. Open sides face outward.
Step 4: Add the fills
Fills are the quiet work that makes a strip look complete without making it look crowded. The trick is restraint: you are shading a few chosen shapes, not colouring in the whole design. Pick which half of each paisley and each petal to darken, and leave the other half as clean skin. That single choice, solid on one side and empty on the other, is what reads as Arabic.
Beyond that, add only three things. Run a row of tiny dots along one edge of the vine to give it a beaded shadow. Drop a small crosshatch, or jaali net, inside one paisley for contrast. Then use single dots to soften any gap that looks too bare. If you are unsure how dense to go, our guide to mehndi filling patterns and shading shows the common fills side by side at different weights. Stop while the design still breathes.
Half-filled shapes, a beaded dot line, one net fill, and light accents down two fingers. Skin still shows.
Step 5: Dress the fingers
Where the vine reaches the knuckles, carry the design onto one or two fingers to tie it together. You do not need to decorate all four. The most natural extension is a small tip cap on the index finger, a solid or half-solid teardrop over the nail, with a thin stem running down towards the knuckle to meet the vine. A single strip down the middle finger balances it without competing.
Keep finger work simpler than the back of the hand, because the fingers are narrow and detail turns to mud there fast. A cap, a stem and maybe a row of three dots is plenty. Resist the urge to fill both edges of every finger; the open skin between accents is what keeps the whole thing reading as one clean diagonal rather than a busy mitten.
Step 6: Timing and drying
Drawing is the short part. Colour comes from leaving the paste undisturbed while the henna plant dye works into the top layer of skin. Here is roughly how the time splits for a first strip, and why the last row dwarfs the rest.
| Stage | What you are doing | Typical time |
|---|---|---|
| Mark the diagonal | Air-tracing, placing end dots | 2-3 min |
| Lay the vine | One continuous curved line | 3-5 min |
| Hang the motifs | Paisley, flower, leaves, half-flower | 8-12 min |
| Add fills | Half-shading, dots, one net | 6-10 min |
| Dress the fingers | Tip cap, stem, light accents | 4-6 min |
| Drying (hands off) | Paste sets, then stains | 6-8 hrs |
Where the time actually goes
A single-hand Arabic strip, start to paste-off. Beginners always underestimate the drying, never the drawing.
Getting the colour to deepen: once the paste is dry to the touch it is still working, so do not rush it off. Leave it on for six to eight hours, then scrape it away instead of washing, and keep water off the skin for the first twelve hours. The stain starts orange and matures to reddish brown over the next day or two. For the full routine, see how to darken mehndi and make the stain last. Never trust a cone that stains black on contact: real henna cannot do that, and the additive that can is the one that burns skin.
Common mistakes on a first strip
Almost every problem beginners hit on the diagonal strip comes from one of these, and all of them are easy to fix once you can name them.
| What went wrong | Why | Fix next time |
|---|---|---|
| The strip looks crooked | No planned diagonal, so the vine drifted | Air-trace and place two end dots first |
| It feels crowded | Too many motifs, not enough skin | Four motifs on the whole vine, then stop |
| Lines are lumpy | Stopping and starting the vine | Draw the vine in one steady pass |
| Finger work turned to mud | Too much detail on a narrow surface | One cap, one stem, a few dots |
| Colour came out pale | Paste removed too early or got wet | Leave six to eight hours, keep it dry |
If your line work is the sticking point rather than the layout, back up a step and drill the basics of cone control in our guide to how to apply mehndi cleanly, then return and the strip will come far more easily.
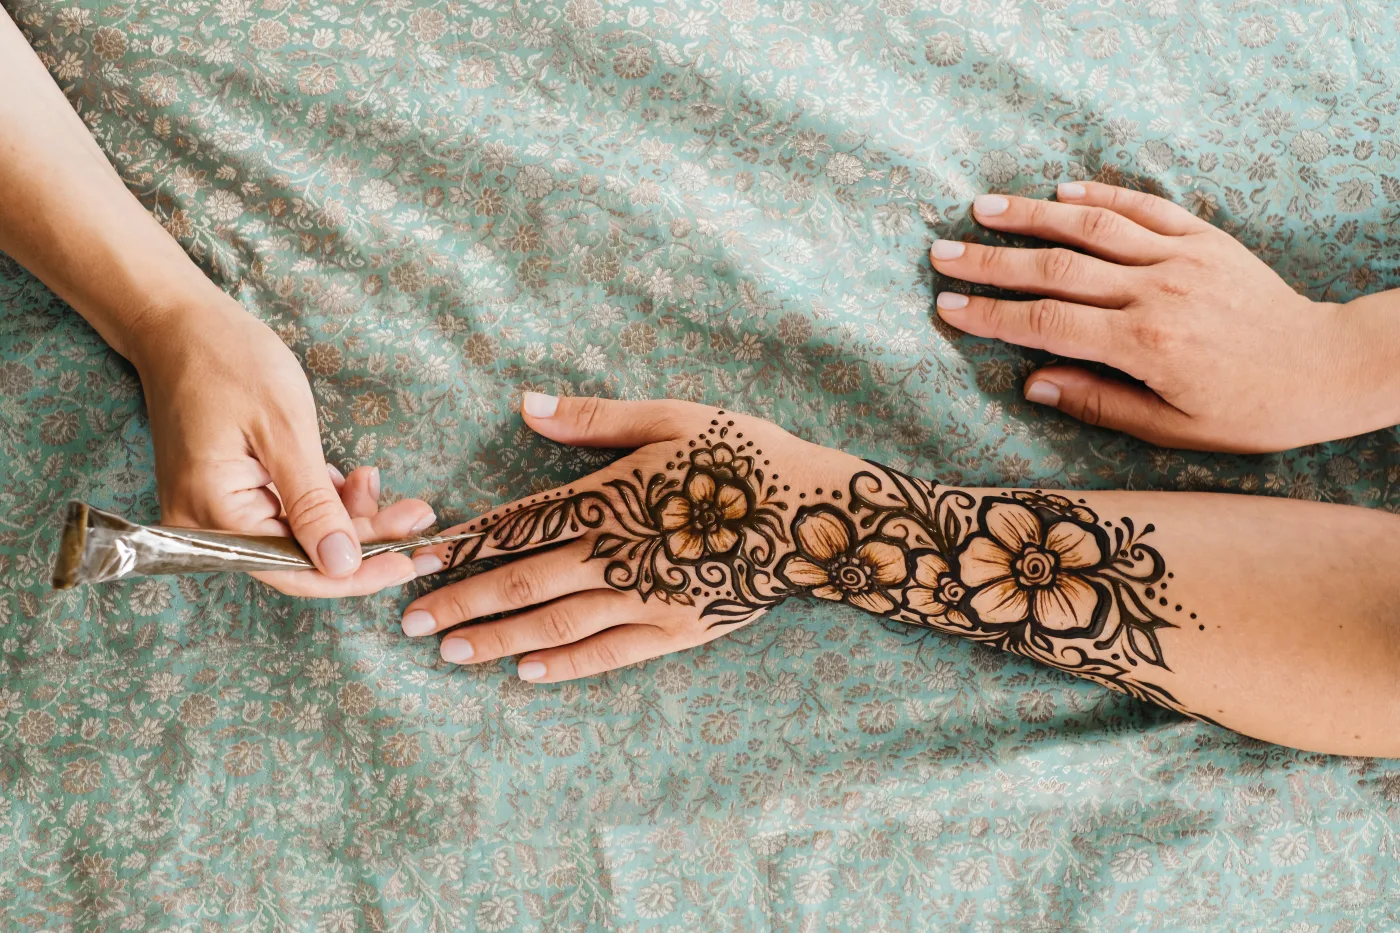
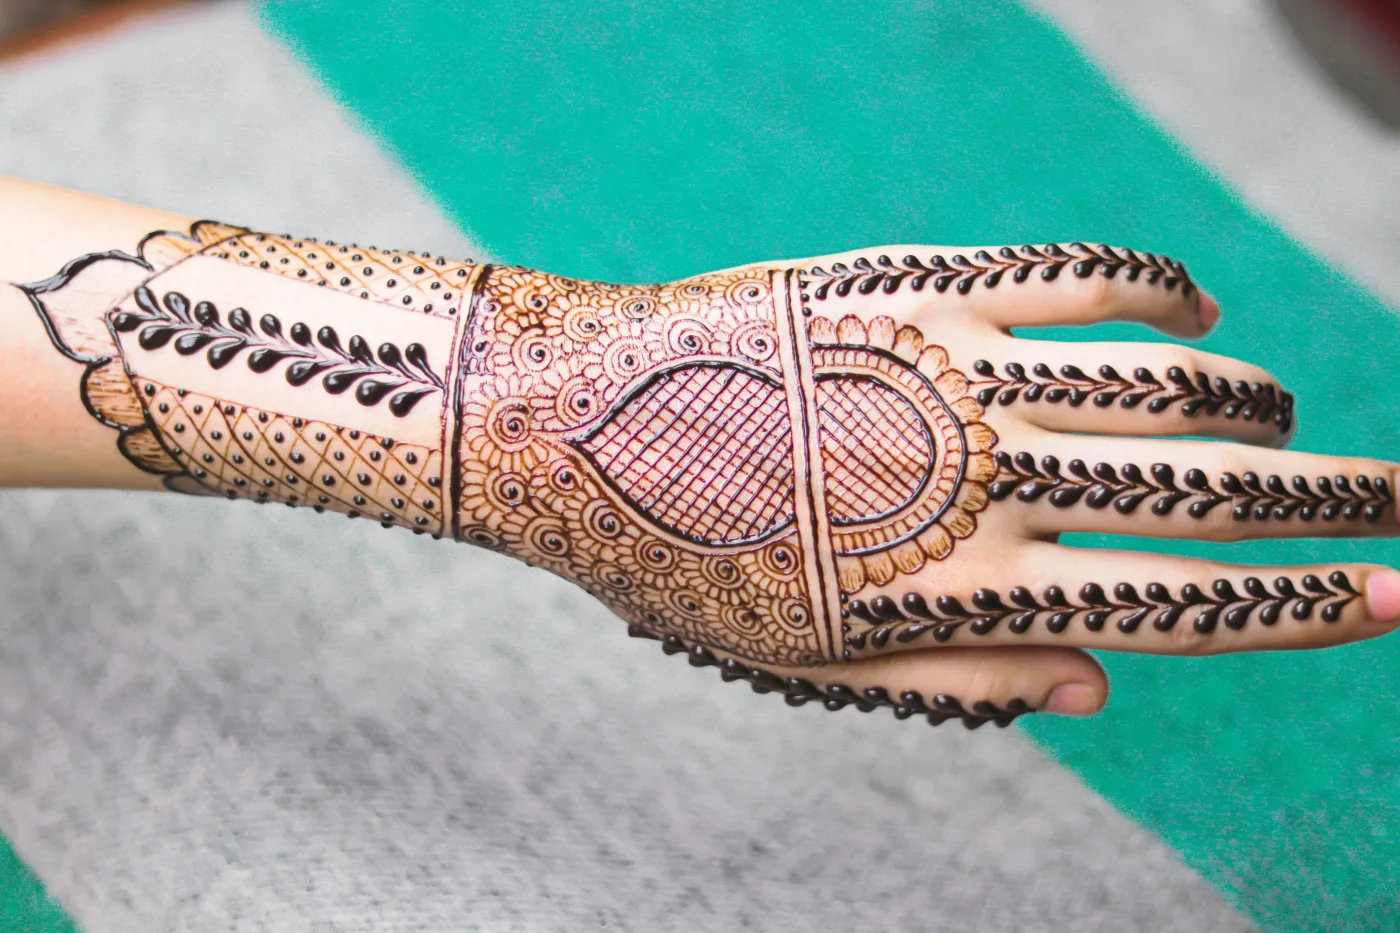
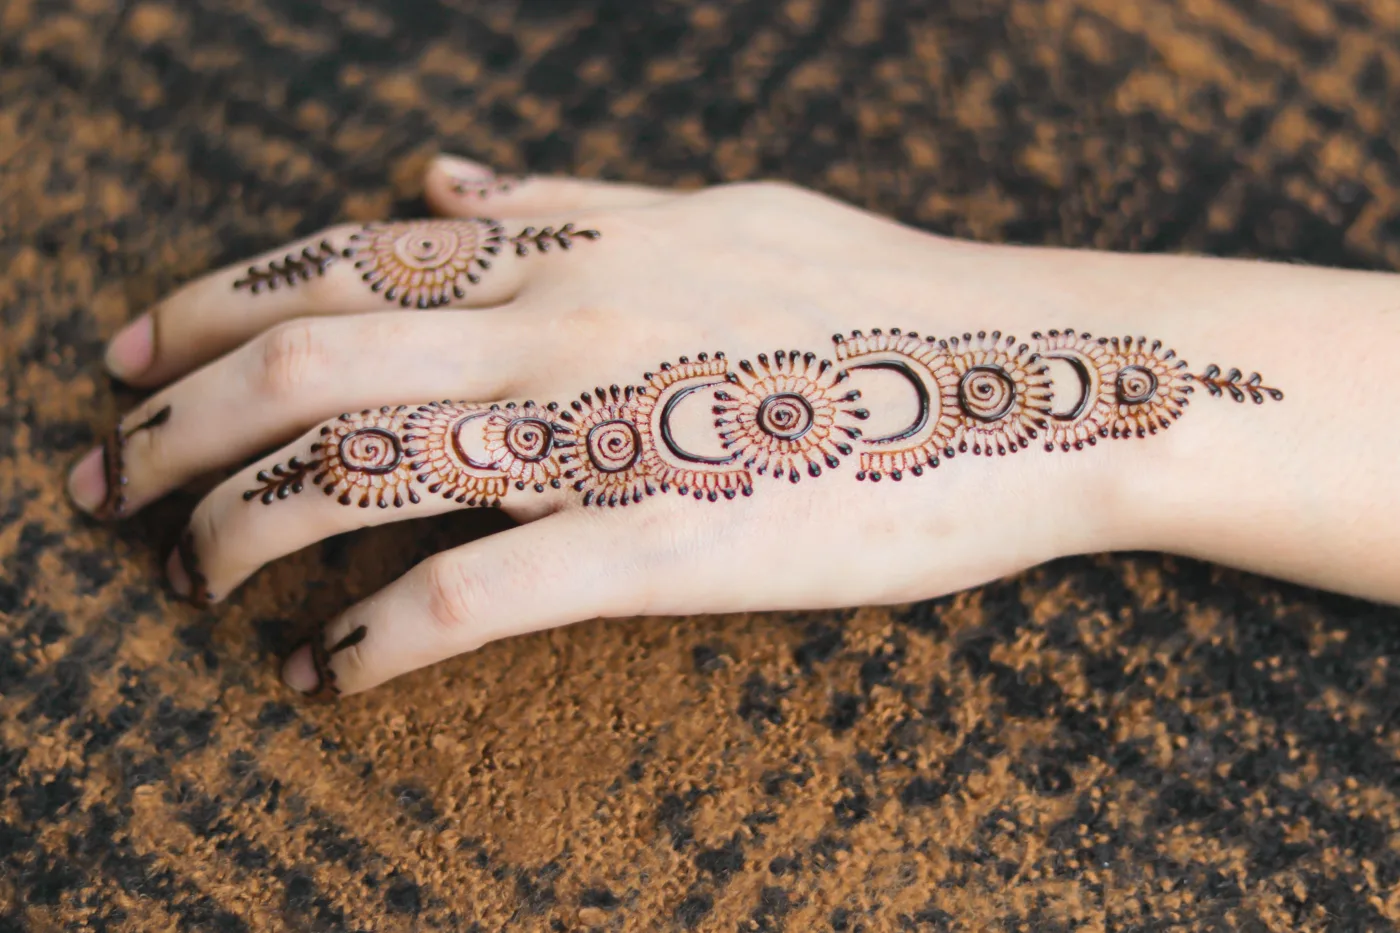
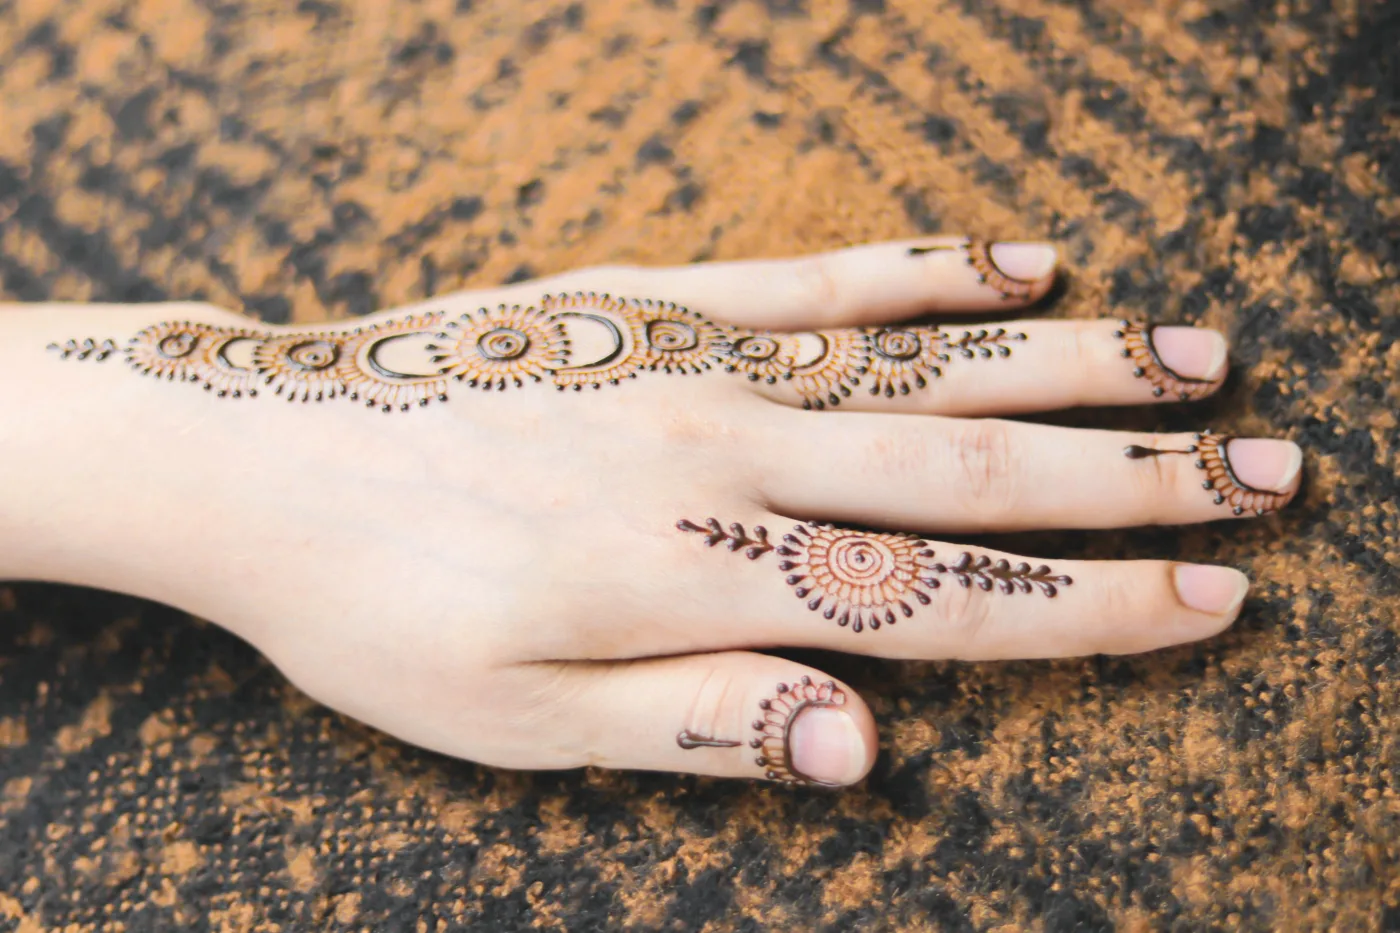
Arabic mehndi in pictures
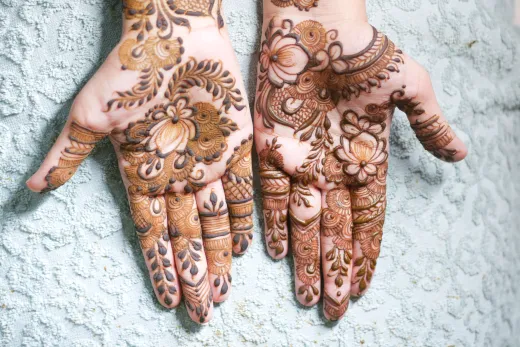
A few real examples worth saving. Screenshots communicate far better than words, so take the ones you like to your artist.
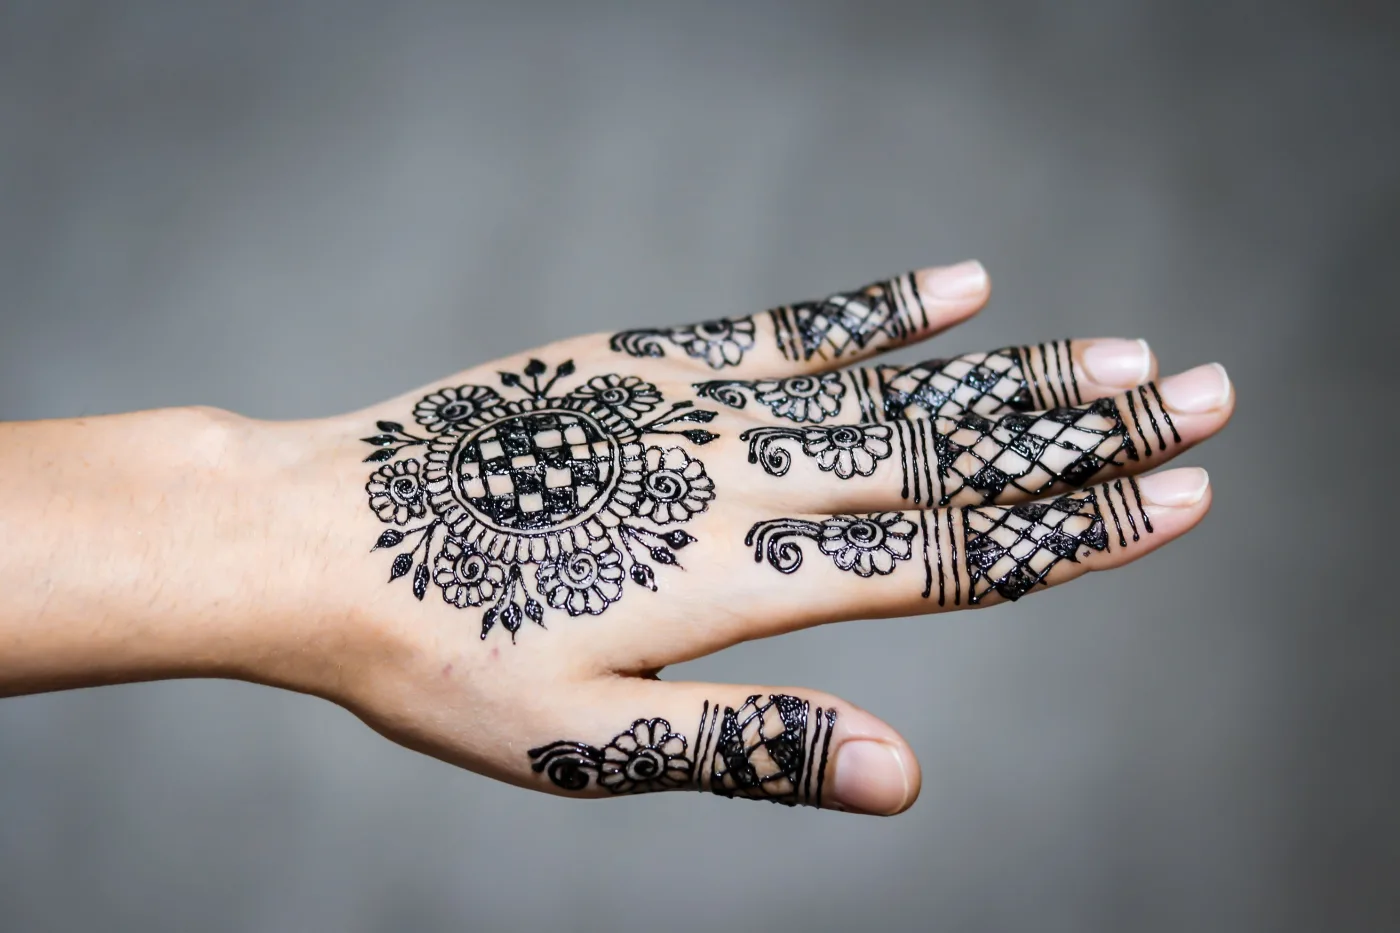
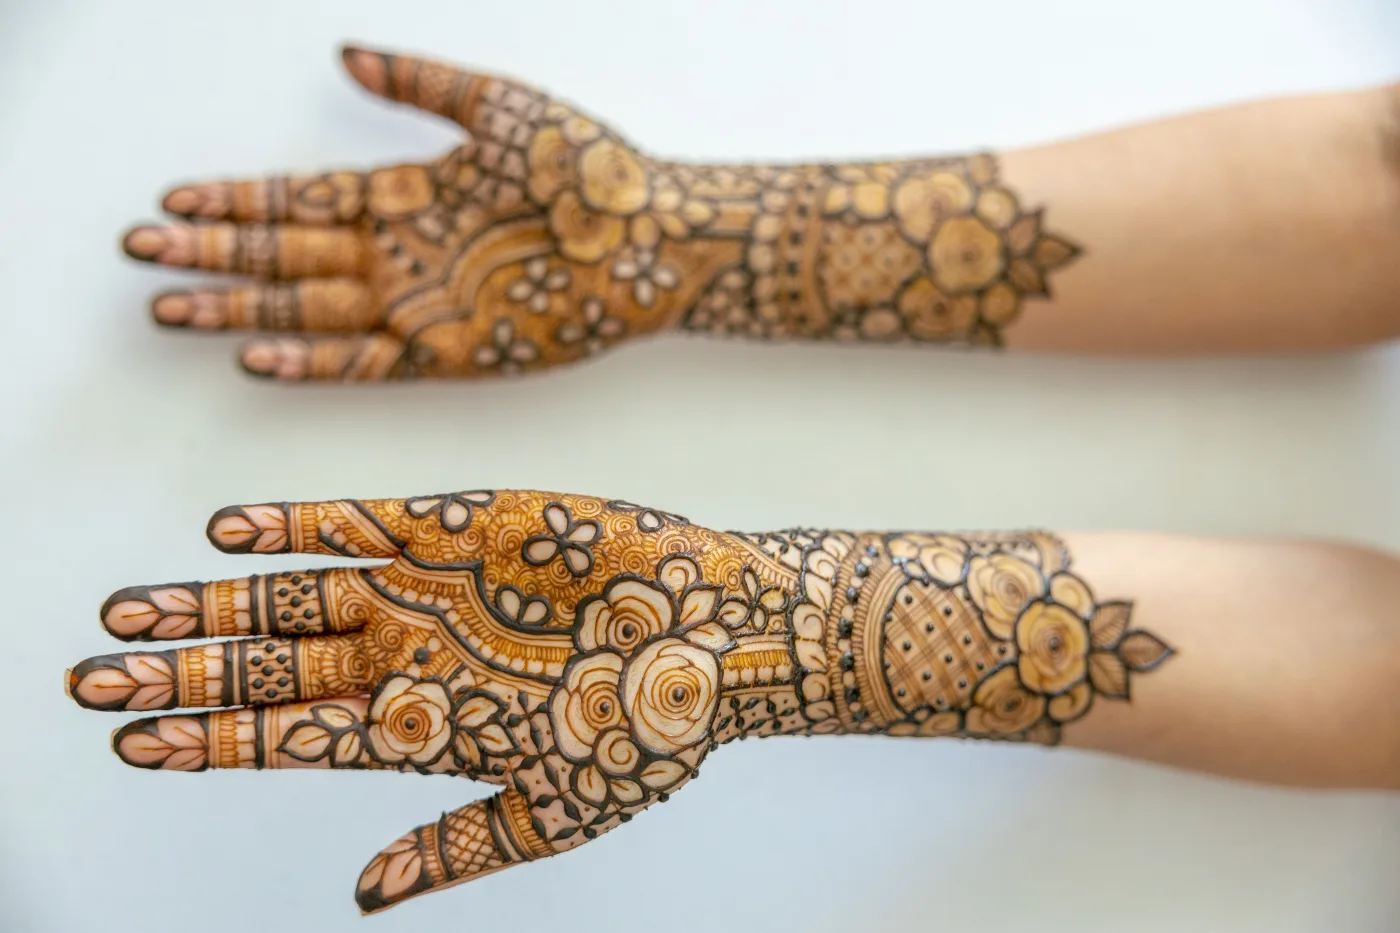
Photos provided by Pexels.
Frequently asked questions
How long should an Arabic strip design take for a beginner?
Plan on roughly 25 to 35 minutes of drawing for one hand, spread across marking, the vine, motifs, fills and fingers. That is separate from drying, which needs six to eight hours with your hands out of action. Your drawing time drops quickly with practice; the drying never changes.
Should I draw the vine or the motifs first?
Always the vine first, then the motifs, then the fills. Working big to small lets the vine set the composition and gives the motifs a line to reference. If you place motifs first, they rarely line up into a clean diagonal and the design looks scattered.
Which hand should I practise the strip on?
Practise on your non-dominant hand so your dominant hand holds the cone. Most people start on the back of the left hand. Before going near skin, run the full sequence two or three times on paper so the diagonal and the motif rhythm are already in your muscle memory.
How do I keep the diagonal from looking crooked?
Never freehand it cold. Air-trace the line from wrist corner to index base a few times, or press two faint end dots with a cocktail stick, then aim the vine between them. A vine that gently weaves across a planned line reads as intentional; one drawn with no guide almost always drifts.
Why does my design smudge while I am still drawing?
Usually because your resting hand or sleeve is dragging through wet paste, or you are working top to bottom and reaching back over finished areas. Build the strip from the wrist upward so your hand always moves away from wet lines, and rest your wrist on a clean surface, not on the design.
How do I make the strip darker?
Colour depth is about contact time, not pressure. Leave the paste on for six to eight hours, scrape rather than wash it off, and keep water away for the first twelve hours. Warmth on the hands helps the stain develop. The finished colour keeps deepening on its own for about two days.
Have a question or a topic to suggest?
We read every message. Tell us what you would like to see next on the blog.
Get in touchYou may also like
Simple Arabic Mehndi Designs
Simple Arabic mehndi designs explained: the five motifs, the layouts worth copying, how long each takes, and how Arabic differs from Indian and Pakistani work.
Mehndi Filling Patterns: 20 Ways
Learn 20 mehndi filling patterns, from jaali net and dot stipple to fish scales and faked shading, plus when to use each and how to combine them cleanly.
How to Apply Mehndi: Beginner Guide
Learn how to apply mehndi step by step: prep skin, hold and control the cone, draw basic shapes, then dry, seal, scrape and care for a deep reddish-brown stain.