Deeper stains, no myths
How to Make Mehndi Darker: 12 Tricks
A practical, chemistry-aware playbook of the twelve things that genuinely deepen a henna stain, ranked by payoff, plus the popular tips that do nothing.
A dark mehndi stain is not luck and it is not a secret cone. It is the result of getting one chemical reaction to happen as many times as possible: the dye molecule in henna, lawsone, bonding to the keratin in your skin. Every genuine trick for a darker stain is really just a way to release more of that dye, keep it in contact with your skin for longer, or protect the bonds once they form. This guide lists the twelve things that actually work, ranked by how much difference they make, and flags the popular tips that do nothing so you can stop wasting effort on them.
The short version
- Fresh, well-released paste beats everything. Old powder and skipped resting cost you more colour than any aftercare trick can win back.
- Leave the paste on for 6 to 8 hours. This single choice moves the needle more than any other.
- Warmth helps, water hurts early. Keep the design warm and keep it dry for the first 12 to 24 hours.
- Judge the colour after two days, not two minutes. A fresh stain is orange and darkens on its own.
- Pressure, foil promises and instant black are myths. Skip them.
First understand what "darker" actually means
The colour you see is a count of chemical bonds. When crushed henna leaves sit in a mildly acidic mix, they release lawsone, a red-orange dye that latches onto keratin in the dead outer layer of your skin. The more of those lawsone-to-keratin bonds you form in a patch of skin, the darker that patch reads. That is the entire mechanism, and we cover it in full in our explainer on the science of how a henna stain forms.
Once you see colour as a bond count, the whole list below stops being folklore and starts being obvious. Anything that frees more dye, gives the dye more time or warmth, or stops you from shedding stained skin early will darken the result. Anything that does none of those things, however popular, will not.
1. Start with fresh, body-art-quality henna powder
Nothing you do later can rescue a stain from stale powder. Lawsone content falls as henna sits on a shelf, and cheap powders are often coarse, old, or cut with other leaf matter. Buy finely sieved, recently harvested, body-art-quality henna powder with a clear crop year, and store it sealed in the freezer if you are keeping it. A rich, green, grassy-smelling powder has dye to give. A dull, brownish, hay-smelling one does not.
2. Add an essential oil with high terpene content
This is the closest thing to a genuine shortcut. Certain essential oils contain terpenes, aromatic compounds that help lawsone move into the skin and bond more readily, which noticeably deepens the final colour. The terpene-rich essential oils most artists reach for are cajeput, tea tree, lavender and eucalyptus, stirred into the paste a teaspoon at a time. Avoid unknown "henna oils" that do not name their contents, and never use anything containing added dye. Do a patch test first, because strong essential oils can irritate sensitive skin.
3. Give the paste a proper dye release before you use it
Freshly mixed paste has most of its lawsone still locked up. It has to be freed first, a step called dye release, which happens while the mixed paste rests. Mix your powder with a mildly acidic liquid, cover it, and leave it somewhere warm until a faint orange tint bleeds to the surface, usually 6 to 12 hours depending on temperature. Applying paste before that point is the single most common reason a stain comes out weak. Our walkthrough on mixing henna paste from scratch covers the ratios and the resting window in detail.
4. Get the consistency and freshness right at application
Once released, lawsone does not last forever in the paste, so use it near its peak rather than days later. Aim for a smooth, lump-free consistency like toothpaste that flows without dragging or running. Paste that is too dry cracks off the skin early and breaks contact; paste that is too wet smears and will not hold a fine line. Both cost you colour by reducing the time dye spends against your skin.
Think of the paste as a dye reservoir sitting on the skin. Colour depth is set by how much lawsone crosses over before you remove it, which is mostly a question of contact time.
5. Leave the paste on for 6 to 8 hours
If you change only one thing, change this. The bond forms gradually, so a quick hour of contact forms only a fraction of the bonds that a full night does. Applying in the evening and sleeping with the dried, sealed paste on is the reliable way for most people to reach a deep colour. Wrap lightly so you do not smudge the design against bedding. Past roughly eight hours the returns flatten, so there is little point leaving it on for two full days.
Colour depth versus paste-on time
Same paste and skin, varying only how long the paste stayed on. The gain is steep early, then flattens.
6. Keep the design warm while the paste is on
Gentle heat speeds the reaction, so a warm design stains darker than a cold one over the same time. Keep your hands out of cold air, sit somewhere warm, and if you like, hold the dried design briefly over the steam of a clove pan or a warm mug. The keyword is gentle. You want cosy warmth, not burning, and the paste must already be dry before any steam so it does not smear.
7. Seal the dried paste with a lemon and sugar glaze
As paste dries it starts to crack and lift, breaking contact with the skin. A thin dab of lemon and sugar solution, applied once the design has dried, keeps the paste tacky and glued down so dye keeps transferring for longer. Use it sparingly with a cotton ball; soaking the design makes it run. The full method, including why too much lemon backfires, is in our guide to the lemon and sugar sealing technique.
8. Scrape the paste off, never wash it off
When time is up, resist the tap. Water at removal interrupts the young bonds and cuts the final colour short. Instead, scrape the dried paste off with a blunt edge or rub it away with a little oil, then wipe the residue with a dry cloth. The stain underneath will look orange and pale at this point, which is completely normal, not a sign of failure.
9. Keep water off the skin for 12 to 24 hours
The stain is still maturing after the paste comes off, oxidising from orange toward deep brown over the next day or two. Early water and soap interrupt that process and can lift bonds that have not yet set. Keep the area dry for at least 12 hours, and ideally closer to 24. Plan around it: do your washing up, showering and cooking before you remove the paste, not after.
10. Let it oxidise, and warm it gently after removal
A fresh stain is at its lightest the moment the paste comes off and at its darkest a day or two later, so patience is a real technique. You can nudge oxidation along with the same gentle warmth from earlier, briefly warming the stained skin over steam or a warm surface in the hours after removal. If your colour still looks disappointing after a full two days, the cause is almost always upstream, which is exactly what our troubleshooter on why mehndi does not go dark works through.
11. Use natural aftercare oils, not soap and lotion
Once the stain is dry and past its first day, protect it. A balm of natural oil or a little beeswax salve over the design slows how fast the stained surface cells shed, keeping the colour richer for longer. Avoid soap, alcohol-based sanitiser and exfoliating scrubs on the area, since all three strip stained skin cells early and fade the design fast.
12. Prep the skin, and pick a spot that stains dark
Clean, bare skin takes dye best. Wash and dry the area before applying, and skip lotion, oil or sunscreen beforehand, because any barrier film blocks the dye. Placement matters too: the palms, fingertips and soles have the thickest keratin layer on the body, so they stain far darker than thin skin like the forearm. If you want the deepest possible colour for a photo, put the detail where the keratin is thickest.
The twelve tricks at a glance
Not every trick is worth the same effort. This is the quick reference: what each one does and how much work it takes, sorted roughly from highest to lowest payoff.
| Trick | Why it works | Effort |
|---|---|---|
| Leave paste on 6 to 8 hours | More contact time means far more dye bonds to keratin | Low, mostly waiting |
| Fresh body-art powder | Old powder has lost its lawsone; you cannot add it back | Low, buy well |
| Proper dye release before use | Frees the lawsone that is otherwise locked in the leaf | Low, plan ahead |
| Terpene-rich essential oil | Helps dye move into skin and bond more readily | Low, one stir-in |
| Keep the design warm | Gentle heat speeds the bonding reaction | Low |
| Lemon-sugar seal | Keeps paste tacky and in contact as it dries | Medium, reapply |
| Scrape, do not wash off | Avoids interrupting young bonds with water | Low |
| No water for 12 to 24 hours | Lets the stain oxidise and set undisturbed | Medium, plan around it |
| Let it oxidise for two days | The colour matures from orange to deep brown on its own | Low, patience |
| Natural oil aftercare | Slows shedding of stained cells, holds colour longer | Low |
| Prep clean, bare skin | Removes barrier films that block the dye | Low |
| Choose a thick-keratin spot | More keratin means more binding sites and darker colour | Low, placement |
The stacking effect: no single trick makes a stain black on its own, and it is not meant to. These layer. Fresh powder plus a good dye release plus a terpene oil plus eight warm hours plus dry aftercare compound into a deep, long-lasting colour. Skip several and even perfect aftercare cannot make up the loss, which is why the top of the list matters more than the bottom.
Myths to skip
Half of the darkening advice online is wasted effort or actively harmful. These are the ones to stop doing.
Pressing harder
Force changes nothing. The reaction depends on contact and chemistry, not pressure on the cone.
Instant "black henna"
Natural henna cannot stain black on contact. An instant-black paste has added dye that can burn and scar. Avoid it.
Neat lemon soaking
A little dilute lemon helps sealing. Drenching the design in strong acid can dull and lift the stain instead.
Vicks or menthol rubs
A popular tip with no reliable benefit and a real irritation risk on many skins. Not worth it.
Judging it too early
An orange stain at paste-off is normal. Declaring failure before two days is the most common mistake of all.
Chemical darkeners
Sprays and additives that promise instant depth usually carry the same risks as black henna. Skip them.
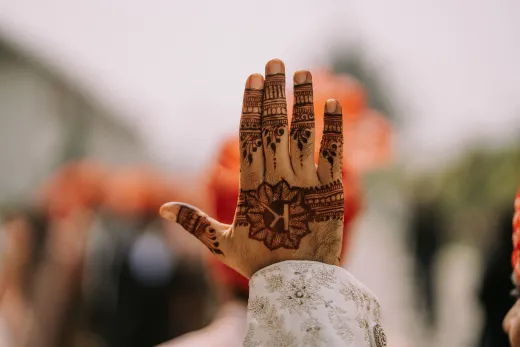
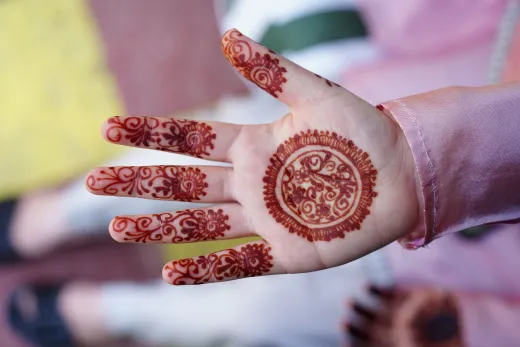
Dark henna stains in pictures
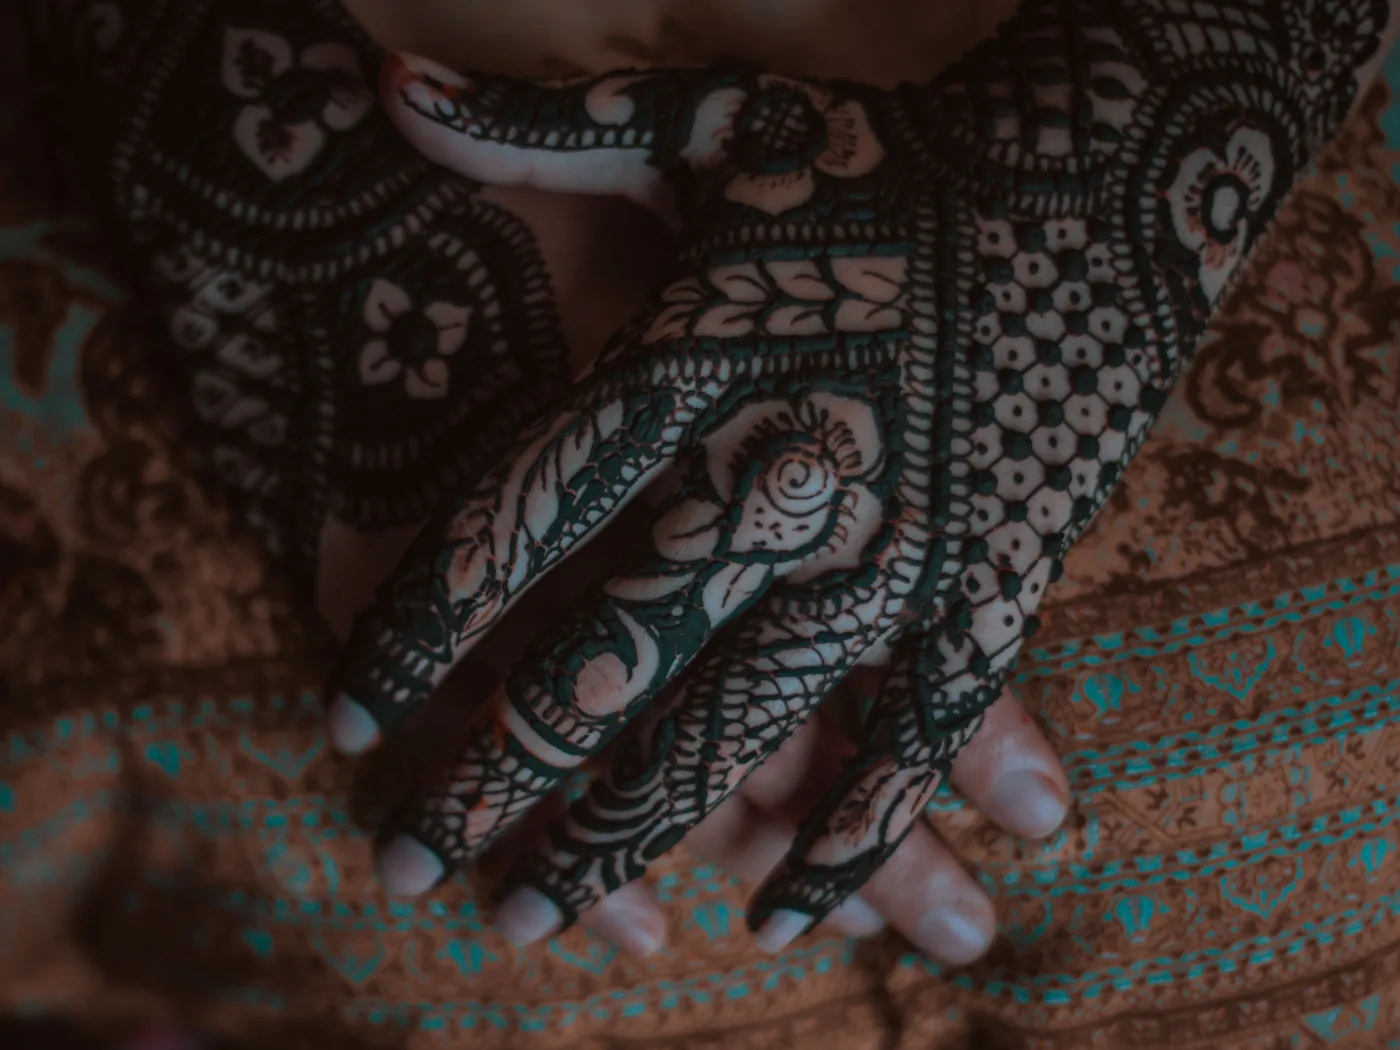
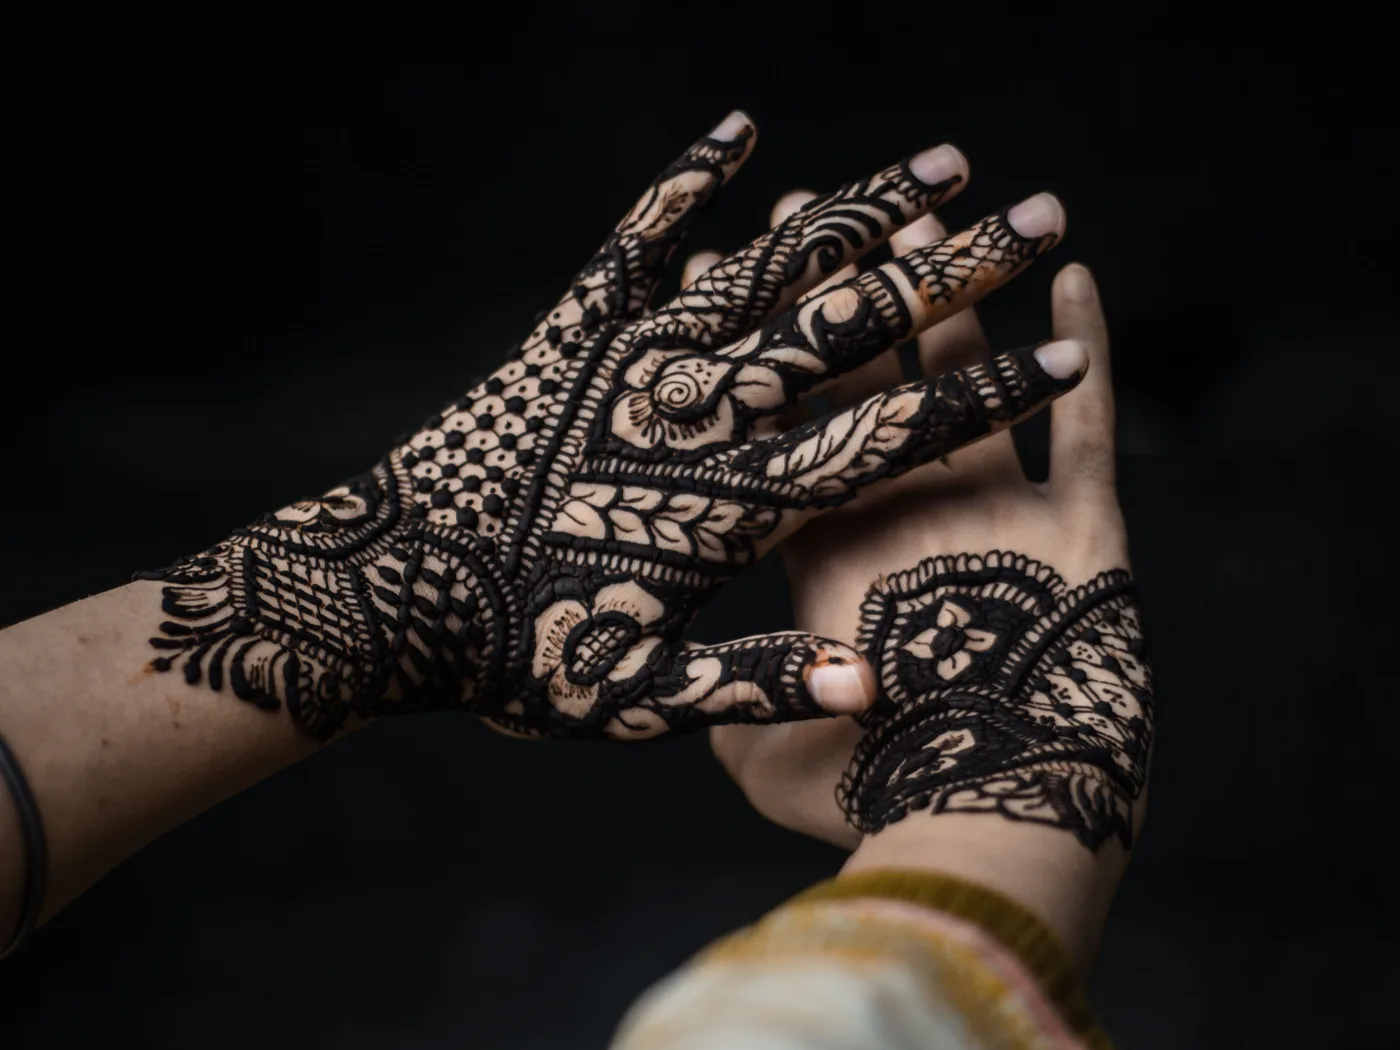
A few real examples worth saving. Screenshots communicate far better than words, so take the ones you like to your artist.
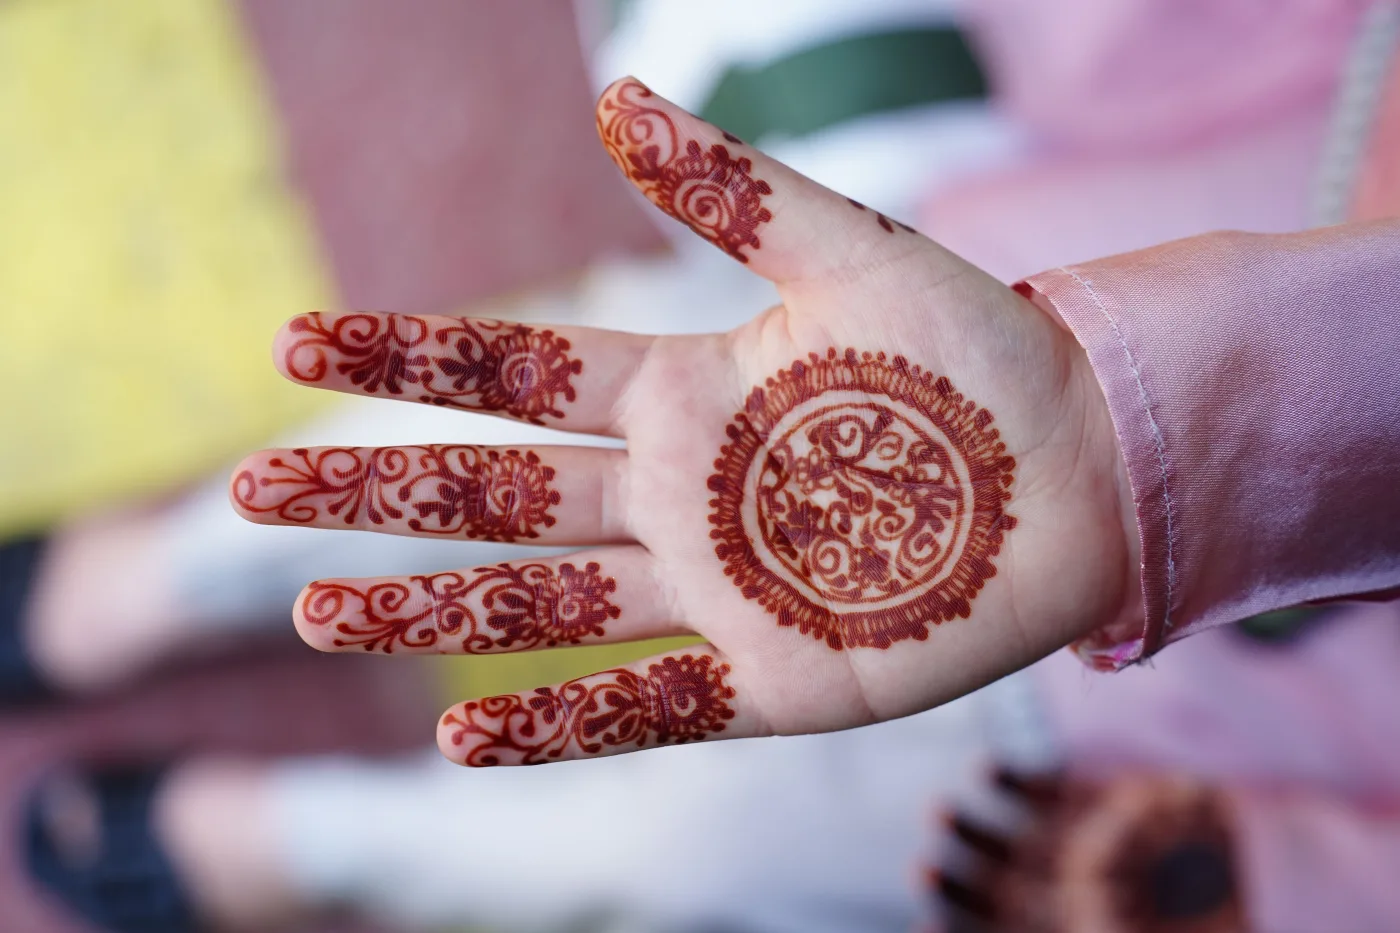
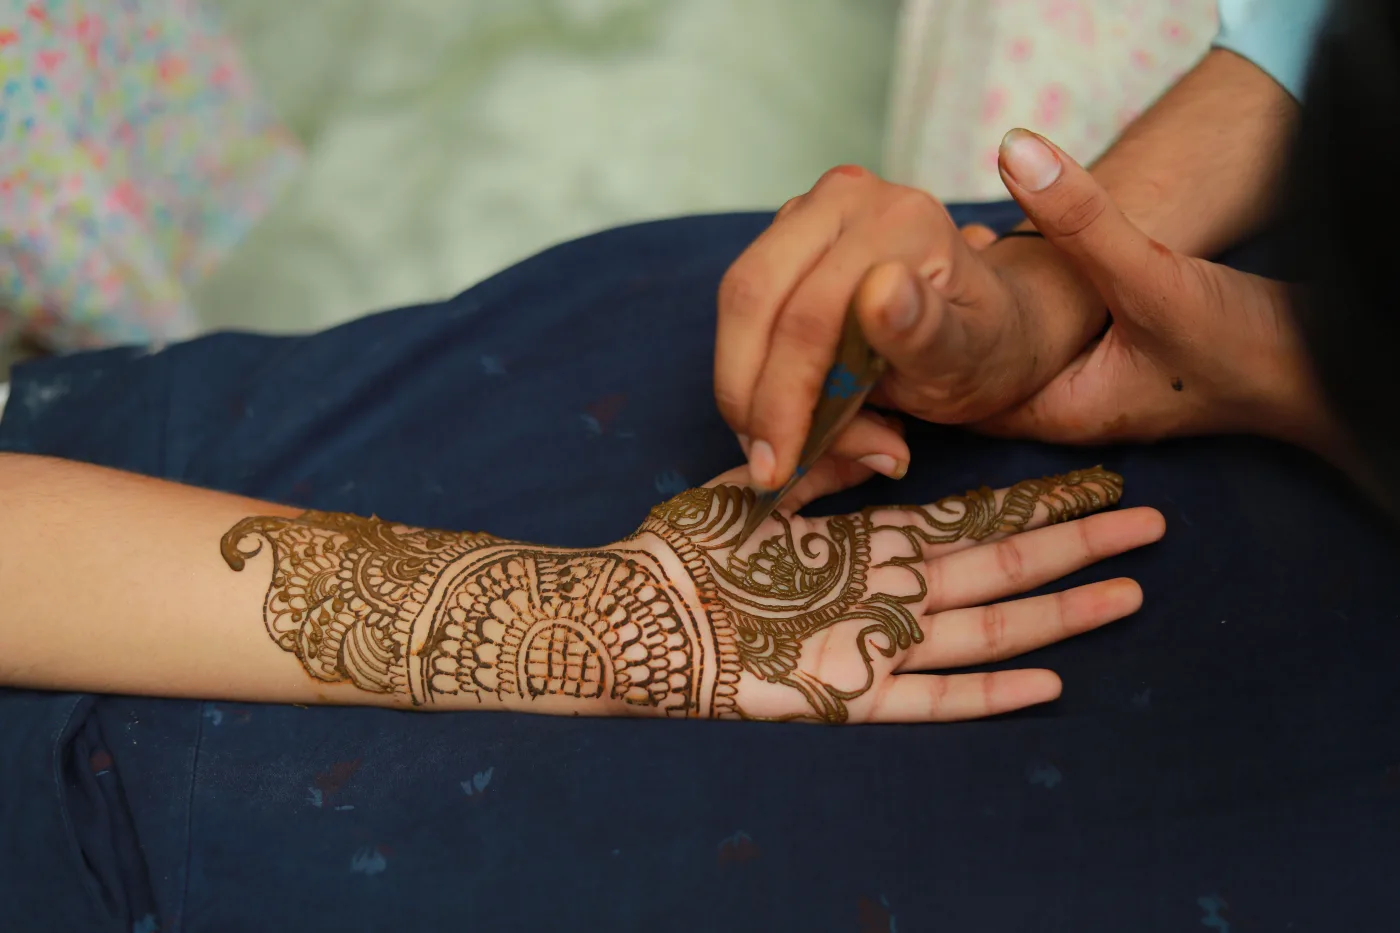
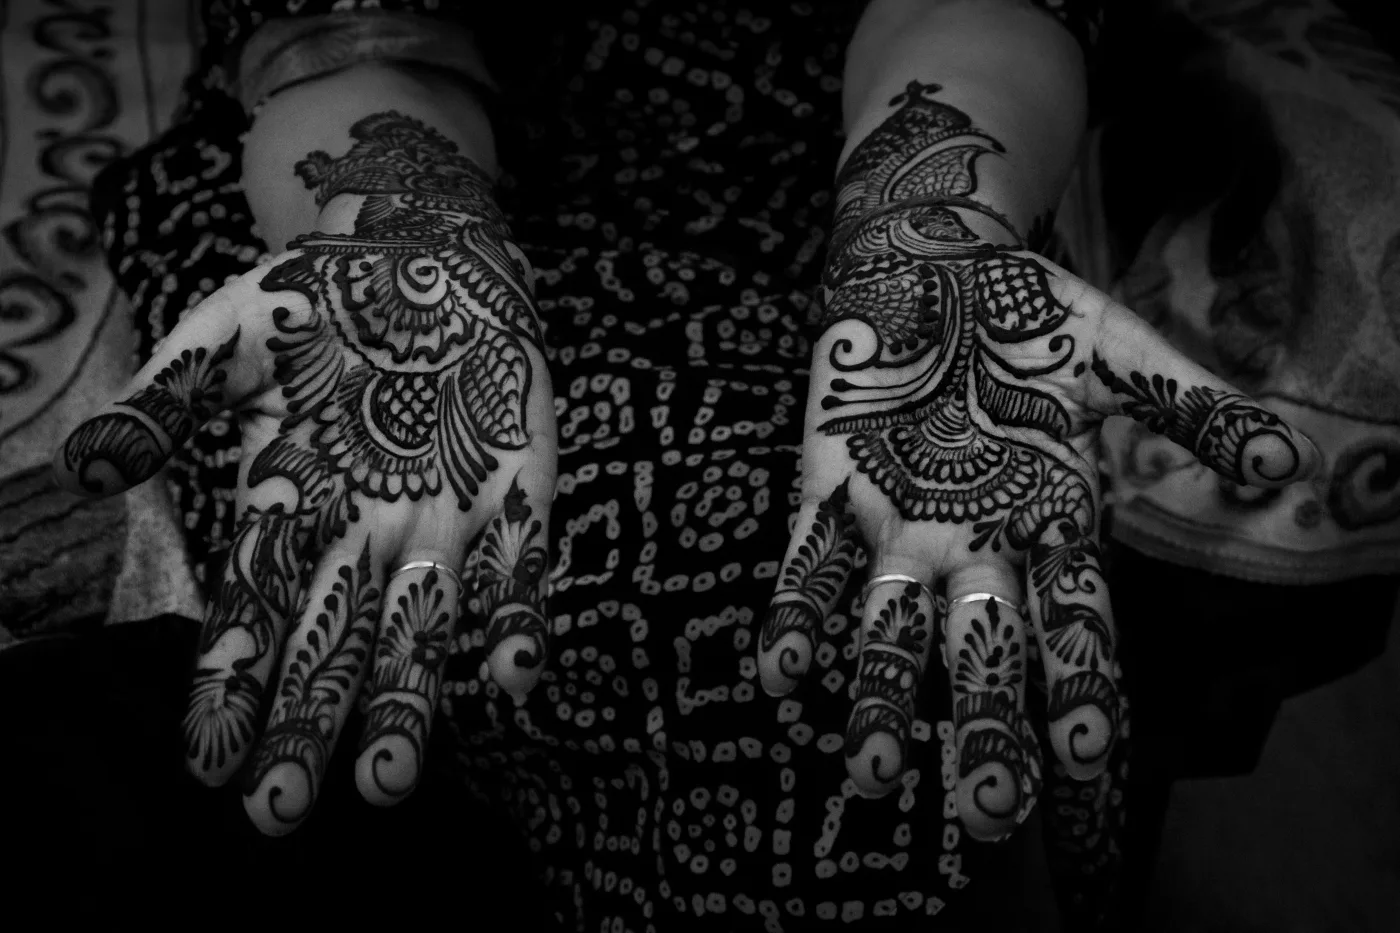
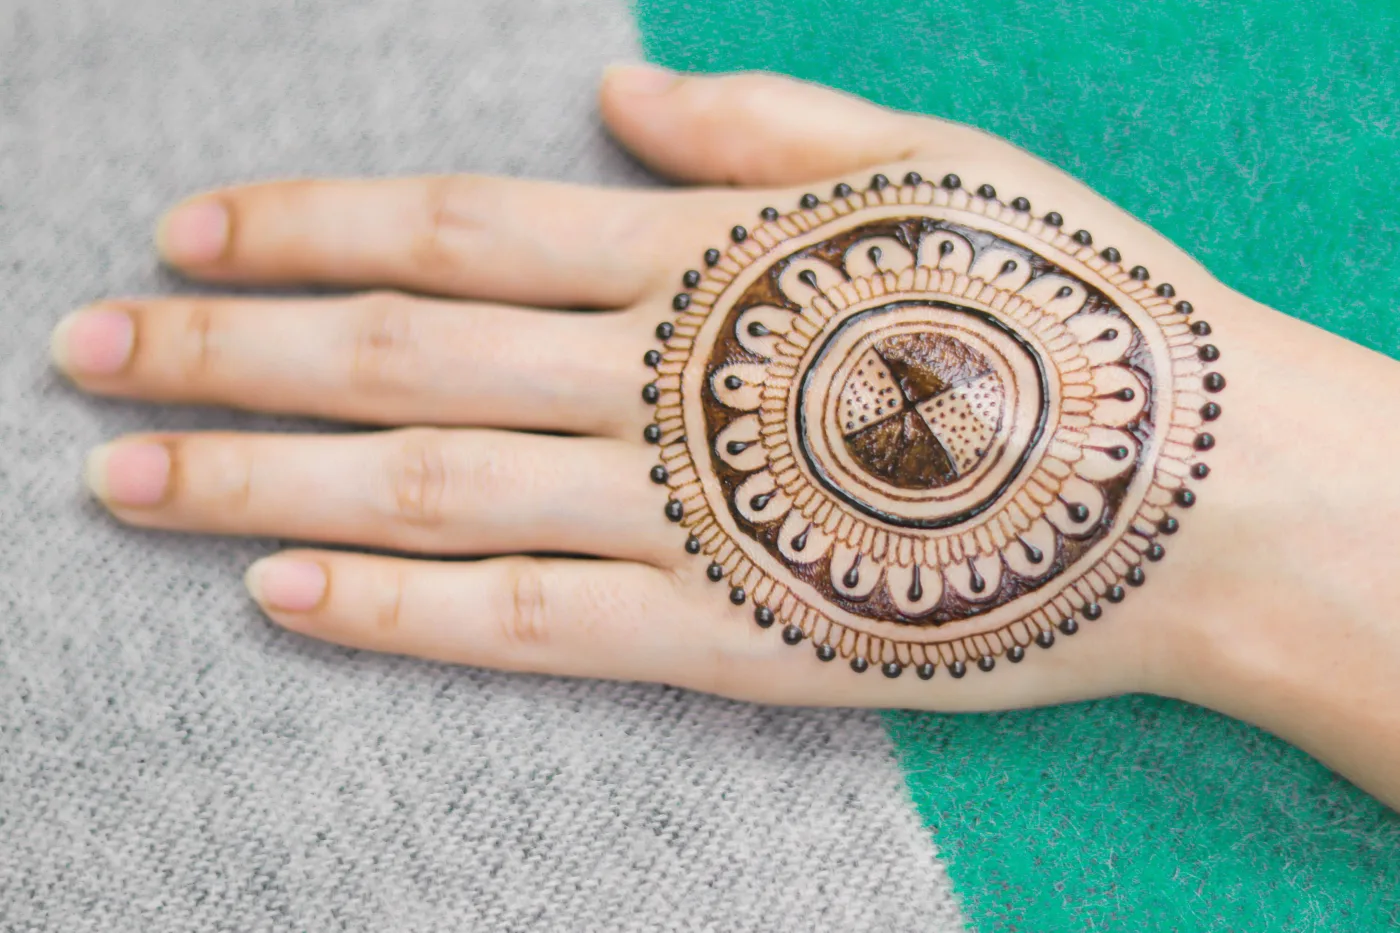
Photos provided by Pexels.
Frequently asked questions
What is the single best way to make mehndi darker?
Leave the paste on for 6 to 8 hours. Nothing else moves the colour as much for as little effort. The lawsone-to-keratin bond forms gradually, so a long, warm, undisturbed contact time forms far more bonds than a quick hour. Combine it with fresh, well-rested paste and you have most of the depth available to your skin.
Do essential oils really darken a henna stain?
Yes, terpene-rich essential oils such as cajeput, tea tree, lavender and eucalyptus genuinely help, because their terpenes assist the dye in moving into the skin and bonding. Stir a small amount into the paste and patch-test first, since strong oils can irritate sensitive skin. Avoid mystery oils that do not list their contents or that contain added colour.
Why did my mehndi come off orange instead of dark?
Orange is the correct starting colour of a fresh stain, not a failure. The bond is orange when it first forms and oxidises to a deep reddish brown over the following 24 to 48 hours. If it is still pale after two full days, the cause is usually upstream: stale powder, a skipped dye release, too little contact time, or washing the paste off with water.
Does pressing the cone harder make a darker stain?
No. Pressure has no effect on colour, because the stain depends on how much dye bonds to your keratin, which is set by contact time, warmth and the quality of the paste, not by force. Pushing harder only smudges your lines. Put that energy into a longer paste-on time instead.
How long should I keep water off the design?
At least 12 hours, and ideally closer to 24. The stain keeps maturing after the paste comes off, and early water or soap interrupts the oxidation and can lift bonds that have not set. Plan your washing, showering and cooking for before you remove the paste, not after.
Is instant "black henna" just a stronger, darker henna?
No, and it is worth being firm about this. Natural henna physically cannot stain black on contact; it always starts orange and deepens slowly. Any paste that stains dark black within minutes has been mixed with an added dye, often para-phenylenediamine, which can cause severe skin reactions and lasting sensitisation. If it promises instant black, walk away.
Have a question or a topic to suggest?
We read every message. Tell us what you would like to see next on the blog.
Get in touchYou may also like
Why Isn't My Mehndi Dark?
Weak henna stain? The real causes of a light mehndi colour, from short paste-on time to old powder and early washing, each with the fix.
Why Lemon-Sugar? Sealing Henna
The lemon sugar henna sealant does not add dye. See what the sugar and lemon really do, how to make and apply it, when it helps, and gentler options.
The Chemistry of a Henna Stain
Henna stain science explained clearly: how lawsone bonds to keratin, why the stain starts orange then turns brown, and why palms stain the darkest.