Make it yourself
How to Make Henna Paste
The full recipe for homemade mehndi paste, with the reason behind every step so you can time the dye release and mix a paste that stains a deep reddish brown.
Learning how to make henna paste is less about a magic recipe and more about respecting one slow chemical reaction. Body-art-quality henna powder, a mildly acidic liquid, a little sugar and a few drops of the right essential oil are all you need, but the order and the timing matter far more than the exact amounts. Get the dye to release fully before it ever touches your skin and even an ordinary powder will stain a deep reddish brown. Rush it, and the best henna in the world will disappoint you. This is the full recipe, plus the reason behind every single step, so you understand what you are actually doing rather than following it blind.
The short version
- Buy body-art-quality powder. Fresh, finely sifted, single-origin. Nothing else matters as much.
- Mix with a mild acid, then rest the paste warm until the dye releases, usually 6 to 12 hours.
- Add sugar for flow and a few drops of a high-terpene oil to push the stain darker.
- Watch for the dye-release window. Use the paste when a wet spot on skin stains fast, not before, not days after.
- Freeze what you do not use. Released paste keeps for months frozen, only hours at room temperature.
- Never buy pre-mixed "black henna". Real henna is never black, and the additive that makes it so is dangerous.
Why homemade henna paste beats a shop cone
A henna stain is a chemical bond, not a coating. The dye molecule lawsone is released from crushed henna leaves and binds to the keratin in the dead outer layer of your skin. We cover that reaction in depth in our explainer on the science of the henna stain, but the short version is that everything about a good stain depends on how much free lawsone reaches your skin and how long it has to bond. A mass-produced cone has often been sitting on a shelf for months, its dye long since released and then oxidised into uselessness. Mixing your own means you control the freshness, the acidity and the exact moment the paste is at its peak.
That control is the whole point of this guide. You are not just following a henna paste recipe. You are timing a reaction so that the paste hits your skin at the exact window when it holds the most usable dye. Do that and a modest powder outperforms any premixed cone.
Step 1: Start with body-art-quality henna powder
Nothing you do later can rescue bad powder, so this is the one thing worth spending on. Look for powder sold specifically as "body-art-quality" or "BAQ", which means it has been finely sifted, is single-crop and single-origin, and carries a recent harvest date. Fine sifting matters because coarse grit clogs cones and drags on the skin. A recent date matters because the lawsone content of henna slowly degrades in storage, so a two-year-old powder simply cannot stain as darkly as a fresh one.
Powders are often graded by their dye content, and a higher figure means more lawsone available per gram. Rajasthani and Yemeni crops are widely trusted, but region matters less than freshness and sifting. If a powder smells stale, hay-like gone flat, or has visibly large flecks, it will fight you the whole way. Avoid anything labelled a "henna hair dye kit", which is usually blended with other plant powders and metallic salts that do not belong on skin.
Step 2: Gather the four things that actually matter
A homemade mehndi paste has only four functional parts. Everything else is a variation on these. Here is what each one does and roughly how much of it you need for a single generous session of about 100 grams of powder.
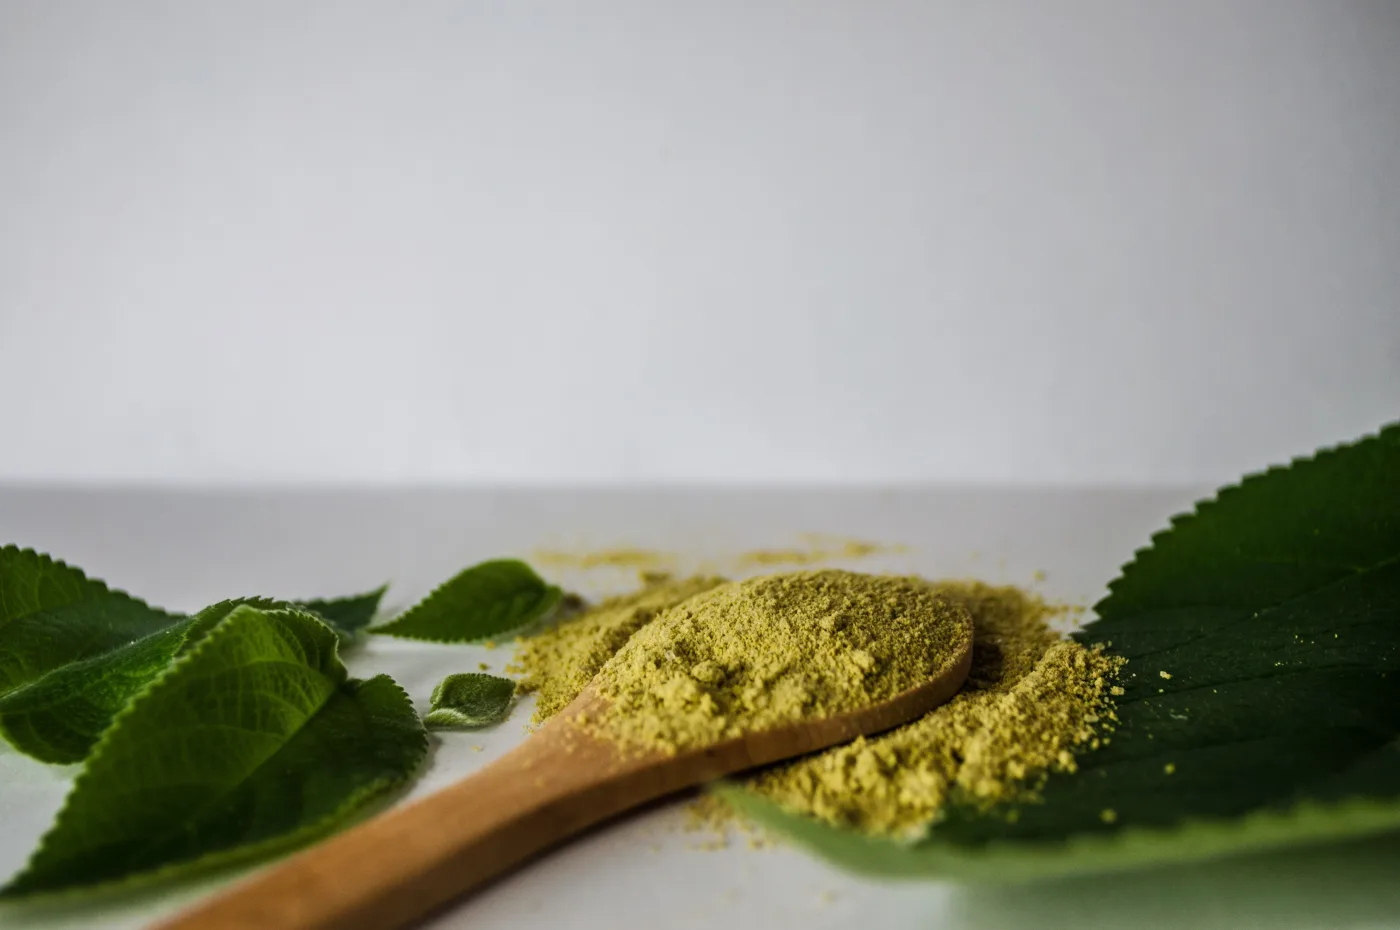
Henna powder
The source of all the dye. Body-art-quality, freshly opened, finely sifted. This is the ingredient you never economise on.
Mild acid liquid
Lemon juice, weak tea or diluted vinegar. A slightly low pH helps the leaf tissue break down and free the lawsone.
Sugar
Plain white sugar or jaggery. It makes the paste stickier so it clings to skin longer and dries without cracking off.
Essential oil
A high-terpene oil such as cajeput, tea tree or lavender. The terpenes noticeably deepen the final stain.
| Ingredient | Role in the paste | Amount (per 100 g powder) |
|---|---|---|
| Body-art-quality henna powder | Supplies the lawsone dye that bonds to skin | 100 g |
| Mildly acidic liquid (lemon juice or weak tea) | Lowers pH to help dye release from the leaf | About 150 to 200 ml, added slowly |
| Sugar or jaggery | Improves stickiness, flow and drying without flaking | 1 to 2 tablespoons |
| High-terpene essential oil (cajeput, tea tree, lavender) | Terpenes boost lawsone uptake for a darker stain | 1 to 2 teaspoons |
| Extra plain water, if needed | Final consistency adjustment after resting | A few teaspoons, only as required |
Step 3: Choose your liquid and understand the acid
The liquid you mix with does two jobs. It hydrates the powder, and its mild acidity helps break down the plant cells so the bound lawsone precursor converts into free, reactive dye. Lemon juice is the traditional choice and works well. Weak black tea, brewed and cooled, is gentler and a good option for sensitive or dry skin. Diluted apple cider vinegar also works. The common thread is "mildly" acidic. This is where beginners go wrong.
More acid is not better. A moderately low pH speeds dye release, but if the paste is too acidic it actually holds the lawsone in a form that is slow to bond to skin, so the stain comes out weaker even though the paste looks perfect. Neat lemon concentrate is a classic mistake. If you want to understand exactly what the lemon is doing and where it stops helping, our guide to the lemon and sugar henna method takes it apart step by step. For most people, ordinary bottled lemon juice cut with a little water, or plain weak tea, lands in the right zone without any measuring.
Step 4: Mix to a smooth paste and rest for dye release
Sift the powder into a non-metal bowl to catch any lumps, then add your liquid a little at a time, stirring constantly. You are aiming for the texture of thick yoghurt or smooth mashed potato at this stage, wetter than you think, because the paste stiffens as it rests and again when you add oil later. Stir out every lump. Then cover the surface with cling film pressed right down onto the paste to keep air off, and leave it somewhere warm.
This resting period is the heart of the whole process, and skipping it is the single biggest reason homemade paste fails. During the rest, the bound lawsone precursor in the crushed leaf converts into free dye, a process artists call dye release. A freshly mixed paste has almost no usable dye yet. Applied straight away it stains weakly, because you are asking the molecule to bond to skin before it has even been freed from the leaf. The rest is not superstition, it is the chemistry catching up.
How to read the dye-release signal: after several hours a thin layer of darker, orange-brown liquid bleeds to the surface of the paste. That is the visible sign that free lawsone is accumulating. To confirm, smear a tiny dot on your palm, leave it two minutes, then wipe it off. If it leaves a clear orange mark, the paste is ready. If the mark is faint or absent, give it longer.
Step 5: Get the temperature right
Dye release is a chemical reaction, and like most reactions it runs faster when it is warm and slower when it is cold. This is why the same recipe can be ready in six hours in a warm summer kitchen and still not released after a full day in a cold one. Warmth is your accelerator, but too much heat is destructive: once free lawsone forms it also starts to oxidise and degrade, and heat speeds that ruin too. The goal is gentle, steady warmth, not a hot spot.
Roughly how long dye release takes by temperature
Same paste, same powder. Warmer rooms free the lawsone faster, but very warm paste also spoils sooner, so aim for the middle.
A warm room at around 22C is the practical sweet spot for most people, giving a comfortable overnight rest. If your kitchen is cold, sit the covered bowl on top of a warm appliance or near a radiator, not on direct heat. The chart shows the pattern rather than exact promises, because the crop, the sifting and the acid all shift the timing.
Step 6: Add the essential oil, and why the terpenes matter
Once the paste has released, stir in your essential oil. This step is where a good stain becomes a great one, and the reason is chemistry, not folklore. Certain essential oils are rich in terpenes, the aromatic compounds that give many plant oils their scent, and these particular terpenes help more lawsone bond to keratin, producing a visibly darker, faster-developing stain. Not every oil works. You want oils high in what artists loosely call "monoterpene alcohols", and you want them fresh, because terpenes evaporate and oxidise over time.
The reliable performers are cajeput, tea tree, ravensara and some lavender oils. Cajeput is the traditional favourite for the strongest stain. Tea tree is easy to find and effective. Lavender is the gentlest on sensitive skin and smells far nicer, at a small cost in intensity. General fragrance oils and cheap "eucalyptus" blends often do little, because what matters is the essential oil actually containing the right terpene profile, not just smelling herbal. Use one to two teaspoons per 100 grams. More is not better and can irritate skin, so stay modest.
The right essential oil does not add colour of its own. Its terpenes simply help more of the paste's lawsone reach and bond to the keratin, which is why a few drops make a real difference.
Step 7: Adjust consistency and rest briefly again
Adding oil and sugar changes the texture, so this is when you fine-tune. You want a paste that holds a soft peak, like smooth toothpaste: thick enough to sit up in a raised line on the skin, loose enough to flow through a cone tip without you squeezing hard. Too thick and the lines drag and break. Too thin and they spread and blur. Add tiny amounts of your liquid to loosen, or a little more sifted powder to stiffen, stirring well between each adjustment. Let it settle for another 15 to 30 minutes so the new liquid distributes evenly before you judge it again.
Step 8: Strain, then fill your cones
Even well-sifted powder leaves fine grit that will clog a cone tip at the worst moment. Straining solves it. Push the paste through a piece of fine nylon, a cut section of tights or clean hosiery works perfectly, or a very fine sieve. It is slow and slightly messy, but a strained paste flows in a smooth unbroken line, and that alone improves your work more than any amount of practice on lumpy paste.
To fill a cone, roll a cellophane or plastic sheet into a tight cone with a small closed tip, spoon or pipe the strained paste into the wide end, then fold and tape the top closed, pressing the paste down toward the tip to expel air pockets. Snip the very end of the tip only when you are ready to draw. Fill several cones at once, since a single batch usually makes more than one.
Step 9: Store or freeze what you do not use
Here is the fact that changes how you plan: once henna paste has released its dye, that dye starts a countdown. At room temperature a released paste is at its best for only a day or so before the free lawsone oxidises and the staining power fades. In the fridge it holds for a few days. But frozen, it keeps for months with very little loss, because the cold nearly stops the reaction. So the practical rule is simple: mix a big batch, release it once, use what you need today, and freeze the filled cones immediately.
To use frozen paste, thaw a cone at room temperature for an hour or two, knead it gently to recombine any separated liquid, and it performs almost like fresh. Never refreeze a cone you have already thawed and used, and label cones with the date so you can use the oldest first. This one habit, freezing released paste, is what lets you get consistent dark stains without mixing from scratch every single time.
Getting the darkest possible stain from your paste
A good paste is only half the job. The other half is how you use it. Leave the applied design on for six to eight hours, keep it warm, and keep water off it for the first twelve hours so the fresh bond can oxidise undisturbed. Scrape the dried paste off rather than washing it. The stain comes off orange and matures to deep reddish brown over the following two days entirely on its own, so do not judge it early. If you want the full playbook, our guide to darkening your mehndi safely collects every method that genuinely works, and our piece on why mehndi does not go dark covers the common mistakes that sabotage an otherwise good paste.
Safety, and it is not optional: real henna is never black. A natural stain has to build slowly through the lawsone-keratin bond, so it always starts orange and deepens over a day or two. Any paste sold as "black henna" that stains dark on contact has had a chemical dye added, most often para-phenylenediamine, which can cause severe burns, blistering, permanent scarring and lifelong chemical sensitisation. Mix your own from plain powder and you know exactly what is in it. If a ready-made cone promises instant black, it is not the plant. Walk away.
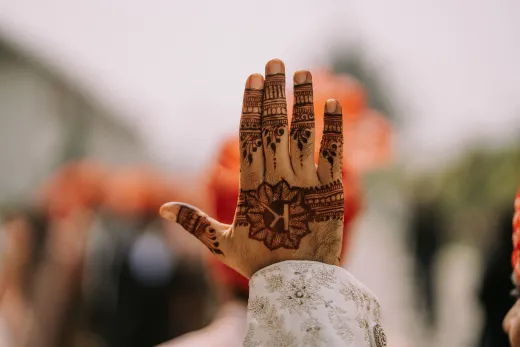
Henna paste in pictures
A few real examples worth saving. Screenshots communicate far better than words, so take the ones you like to your artist.
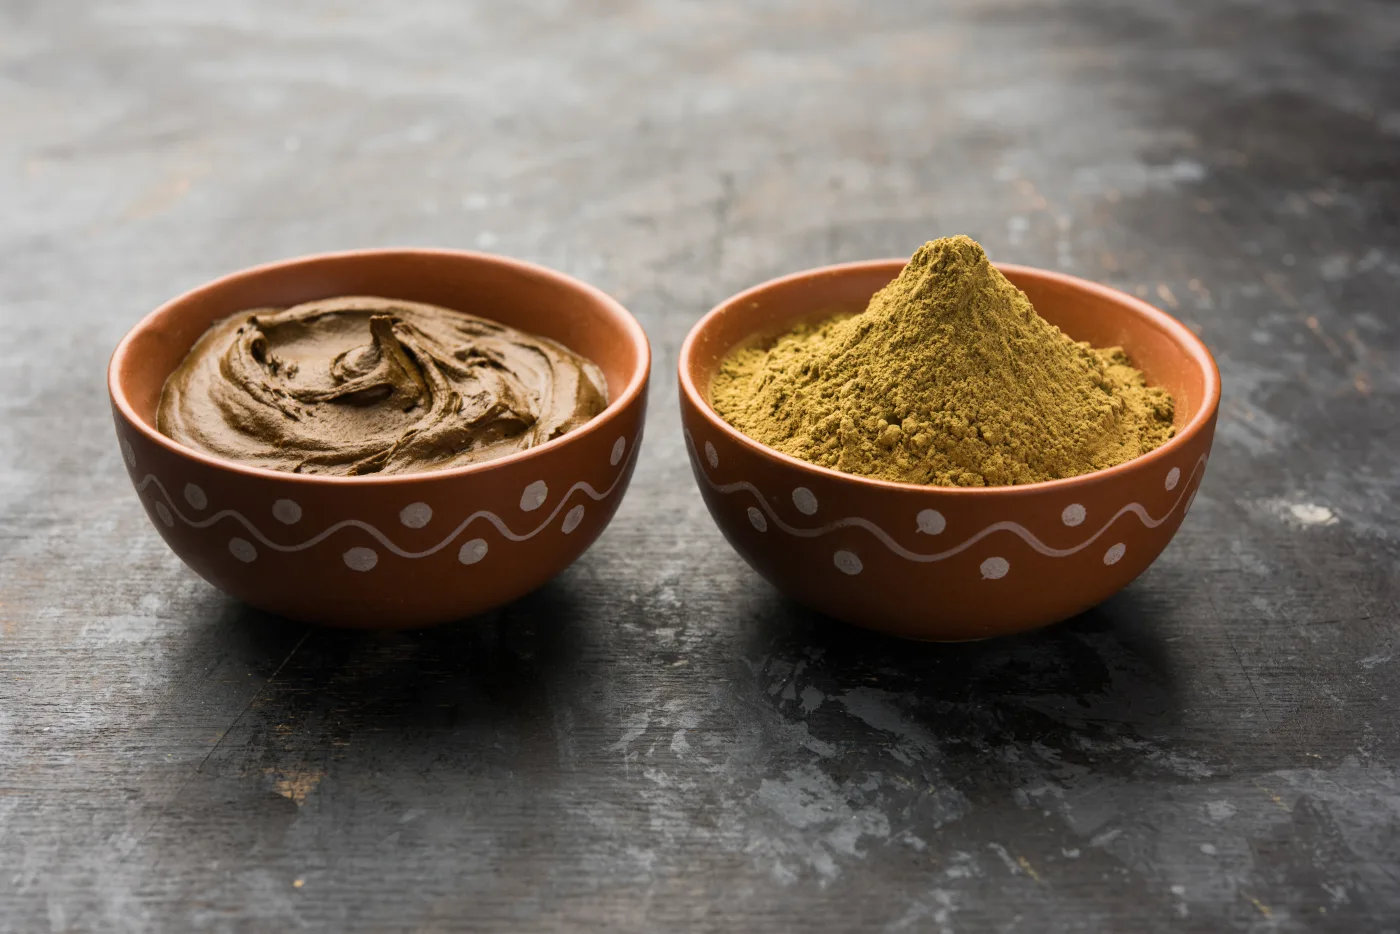

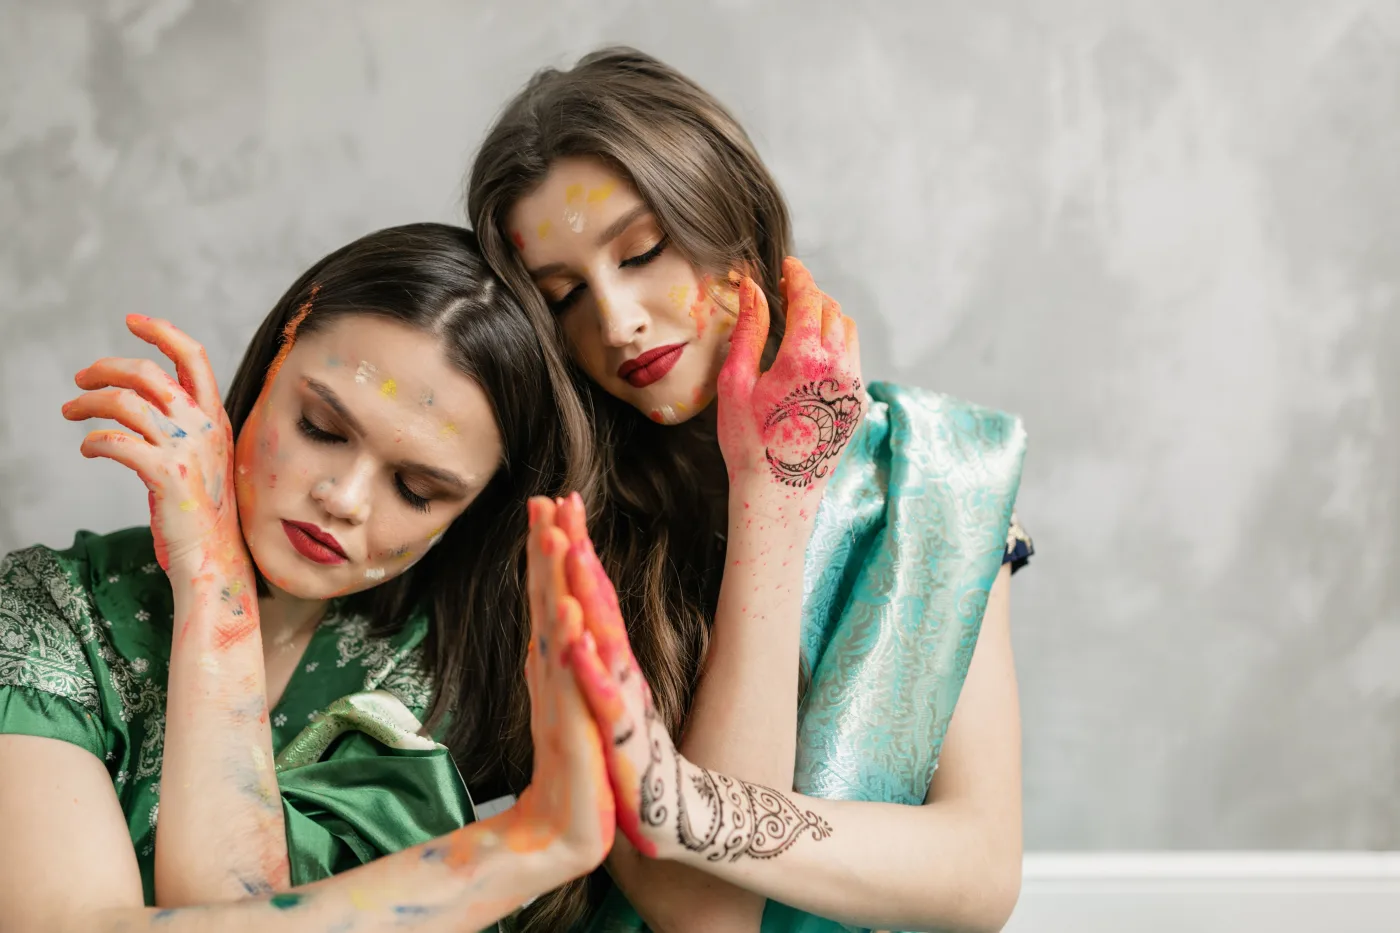
Photos provided by Pexels.
Frequently asked questions
What is the basic recipe for henna paste?
Mix about 100 grams of body-art-quality henna powder with 150 to 200 millilitres of a mildly acidic liquid such as lemon juice or weak tea, to a thick yoghurt texture. Rest it covered in a warm room until the dye releases, usually 8 to 12 hours. Then stir in one to two tablespoons of sugar and one to two teaspoons of a high-terpene essential oil, adjust to a toothpaste consistency, strain, and fill your cones.
How long should henna paste sit before use?
Long enough for the dye to release, which depends on temperature. In a warm room around 22C that is roughly 8 to 12 hours. In a cool room it can take a full day or more. The paste is ready when a darker orange liquid bleeds to the surface and a test dot leaves a clear orange mark on skin within a couple of minutes. Using it before release is the most common reason a homemade paste stains weakly.
Which essential oil gives the darkest henna stain?
Oils high in the right terpenes work best, and cajeput is the traditional favourite for the strongest stain. Tea tree is widely available and effective, while lavender is the gentlest on sensitive skin at a small cost in depth. What matters is a fresh oil with a genuine terpene profile, not just a herbal smell, so avoid vague fragrance oils. Keep the dose to one or two teaspoons per 100 grams, since more can irritate skin without staining better.
Can I store or freeze homemade henna paste?
Yes, and freezing is strongly recommended. Once released, paste stains best for only about a day at room temperature and a few days in the fridge, because the free dye slowly oxidises. Frozen, it keeps for months with very little loss. Fill your cones, freeze them straight after release, then thaw a cone at room temperature and knead it before use. Do not refreeze a cone you have already thawed and used.
Why does more lemon juice not make a darker stain?
Because the relationship is not linear. A mildly acidic mix helps free the lawsone from the leaf, but too much acid holds the dye in a form that bonds slowly to skin, so a very sour paste can actually stain weaker. Aim for gentle acidity, such as lemon juice cut with water or plain weak tea, rather than neat concentrate.
Is it safe to make and use my own henna paste?
Natural henna made from plain body-art-quality powder, a mild acid, sugar and a modest amount of a skin-safe essential oil is safe for most people, and mixing your own is the surest way to know what is in it. Do a small patch test first if you have sensitive skin or are trying a new oil. The real danger is never homemade natural paste but pre-mixed "black henna", which contains added chemical dye. Real henna stains orange first and browns over two days, and it is never black on contact.
Have a question or a topic to suggest?
We read every message. Tell us what you would like to see next on the blog.
Get in touchYou may also like
How to Make Mehndi Darker: 12 Tricks
Want a deeper henna stain? Here are 12 evidence-based ways to darken mehndi, from fresh paste and terpene oils to 8-hour timing and warm aftercare.
The Chemistry of a Henna Stain
Henna stain science explained clearly: how lawsone bonds to keratin, why the stain starts orange then turns brown, and why palms stain the darkest.
Why Lemon-Sugar? Sealing Henna
The lemon sugar henna sealant does not add dye. See what the sugar and lemon really do, how to make and apply it, when it helps, and gentler options.