Mehndi 101
How to Apply Mehndi: Beginner Guide
The foundational how-to: prep, cone control, first shapes, drying, sealing, scraping and aftercare, so the stain matures to a deep reddish brown and every style becomes easy to learn.
Learning how to apply mehndi is far more about handling the cone than about being able to draw. The paste comes from a plant, the colour comes from time, and almost every clean design a beginner admires is built from three or four simple shapes repeated with a steady hand. This guide walks the whole process in order: preparing your skin, choosing and checking a cone, holding it at the right angle, controlling the flow, drawing your first elements, then drying, sealing, scraping and aftercare so the stain matures to a deep reddish brown. Get these fundamentals right and every specific style becomes easy to learn.
The short version
- Clean, bare skin first. No lotion, no oil; wash and dry the hand before you start.
- Control lives in the tip. A fine, unclogged tip and a light squeeze beat a steady hand.
- Colour is time, not pressure. Leave the paste on six to eight hours, then scrape, never wash.
- Seal and keep it warm and dry. The stain darkens for another two days on its own.
What you need before you start
You do not need a professional kit to apply your first mehndi. A single good cone and a few household items cover everything. The one purchase worth caring about is the cone itself: fresh, natural henna paste with a fine, clean tip. Everything else you almost certainly already own.
Henna cone
Fresh, natural paste. It should smell earthy and stain orange first, never black on contact.
Pin or fine snip
To open the tip. A pinhole gives a thin line; a wider cut floods and blobs.
Paper to test on
Burp air bubbles and practise your line release here before the cone touches skin.
Lemon and sugar
A light dab once the paste is dry helps it cling and deepens the final colour.
Cocktail stick
Lift stray blobs and fix mistakes without smudging the wet lines around them.
Warmth
A warm hand takes colour better. Nothing to buy, just avoid working in the cold.
Step 1: Prepare your skin
The stain forms when the dye in the paste sinks into the top layer of your skin, so anything sitting on that surface gets in the way. Wash the hand with soap and water to strip off oils, lotions and sunscreen, then dry it fully. Do not moisturise beforehand, because lotion leaves a film the dye cannot cross. If you exfoliate lightly first, the skin takes colour a little more evenly, but clean and dry is the part that actually matters.
Pick your surface while your skin dries. Palms and the sides of fingers stain the darkest because the skin there is thickest, which is why traditional designs concentrate detail on the palm. The back of the hand is broad, flat and slow to smudge, so it is the friendliest place to learn. Whichever you choose, rest your forearm on a table so your wrist is supported and not floating.
Step 2: Choose and check your cone
Squeeze the cone gently onto paper before you go near skin. Good paste comes out as a smooth, even thread and stops the instant you ease off. If it sputters, spits air or breaks into fragments, roll the cone between your palms to warm it and tap the tip down to settle the paste, then burp the trapped air out onto the paper. This one minute of preparation prevents most of the blobs and skips that frustrate beginners.
Open the tip small. A pinhole or the narrowest possible snip gives you a fine line you can always thicken later; a wide opening floods the design and cannot be undone. Above all, check what you are working with. Natural henna stains orange and matures to reddish brown over a day or two, and it never stains black on contact. Anything sold as so-called black henna that dyes instantly has been mixed with a chemical that can badly burn skin, so if a cone promises instant black, throw it away.
Step 3: Hold the cone the right way
Hold the cone like a thick pencil, gripped between your thumb and first two fingers about a third of the way down from the tip, not right at the point. Keep it at a low angle to the skin, roughly forty-five degrees, and let the tip hover just above the surface rather than digging in. The paste should lay down onto the skin like icing off a nozzle, so you are trailing a line, not dragging the cone through it. Rest the side of your little finger or your wrist on the skin as a pivot to steady the whole hand.
Low angle, gripped a third down, tip hovering. You trail the paste onto the skin rather than pressing it in.
Step 4: Control the flow
Consistency comes from your squeeze, not your speed. Apply steady, light pressure so the thread stays even, and release the moment you want the line to stop; the paste keeps flowing for a fraction of a second after you let go, so ease off just before a corner. Move at a calm, constant pace, because stopping and starting mid-line is what leaves the lumps and joins that mark a beginner's work. Draw from your whole arm and shoulder for long strokes, and reserve fingertip movement for tiny details only.
Practise three things on paper until they feel automatic: a long straight line, a smooth curve, and a single clean dot made by touching down and lifting straight up. If a line wobbles, do not stop and fix it mid-stroke; finish the line, then thicken the good side on a second pass so the wobble reads as intentional weight. Most beginner problems are a tip cut too wide or a cone squeezed too hard, not shaky hands.
Step 5: Draw your first shapes
Nearly every design a beginner will ever want is built from one shape: the teardrop. Master it and you can build flowers, leaves, vines and paisleys without learning anything new. To draw a teardrop, start with a thin point, press slightly to widen into a belly, then lift. Turn five of them around a central dot and you have a flower. Line them along a curve and you have a leafy vine. That is the whole vocabulary you need for a first design.
The teardrop is the whole alphabet. Two make a leaf on a stem; five around a dot make a flower.
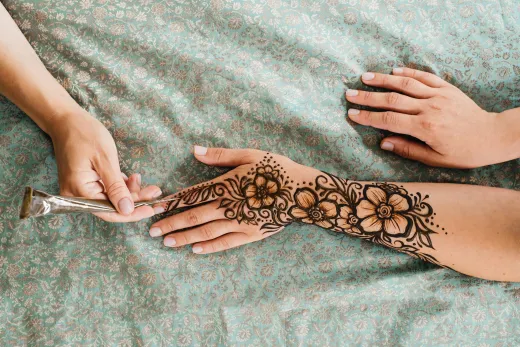
Once you can place a flower and a vine, you have enough to attempt a real design. The simplest layout to try first is a single diagonal strip across the back of the hand: one flowing line with a few shapes hanging off it. Our step-by-step Arabic strip tutorial walks that exact build. When you want to add shading and texture to those shapes without overcrowding them, the guide to mehndi filling patterns shows the common fills side by side.
Step 6: Let the paste dry
Once the design is drawn, the work becomes patience. Leave the paste completely undisturbed while it dries and the colour develops underneath. Resist touching it to check; wet henna smudges at the lightest brush, and the dye is still migrating into the skin the whole time. Here is roughly how the stages break down, and why the drying step dwarfs everything else.
| Stage | What is happening | Typical time |
|---|---|---|
| Prep the skin | Wash, dry, choose the surface | 3-5 min |
| Check the cone | Burp air, test the line, open the tip | 2-3 min |
| Draw the design | Outline, shapes, fills | 15-40 min |
| Surface dry | Paste sets and stops smudging | 20-30 min |
| Seal and rest | Lemon-sugar dab, keep it warm | 6-8 hrs |
| Colour matures | Orange deepens to reddish brown | 24-48 hrs |
Step 7: Seal the design
Dry henna flakes off too soon, and every flake that falls early takes some colour with it. Sealing keeps the paste in contact with the skin longer so the stain has time to deepen. Once the surface is dry to the touch, dab on a thin film of lemon and sugar syrup with a cotton ball, just enough to make the paste tacky again. Do not soak it. Then keep the hand warm, because warmth speeds the dye reaction. Many people wrap the design loosely in tissue overnight to trap that warmth and stop the paste rubbing off in their sleep.
Why the colour needs time: the stain comes from lawsone, the dye molecule in the leaf of the henna plant, which binds to keratin in the top layer of your skin. That reaction runs on contact time and warmth, not on how hard you press the cone. Leave the paste on for six to eight hours, keep the hand warm, and let the colour do its own work.
Step 8: Scrape it off, never wash
When the time is up, take the paste off by scraping, not washing. Rub the dried flakes away with your thumb, the blunt back of a knife or a cocktail stick, or scratch them off over a bin. Water at this stage stops the dye reaction early and leaves you with a paler stain, so keep the design dry. If any stubborn paste clings on, wipe it with a little oil rather than rinsing. The colour underneath will look bright orange the moment the paste comes off, and that is exactly right.
Step 9: Aftercare for a dark colour
The stain is not finished when the paste comes off; it keeps darkening on its own for the next day or two as the dye oxidises, deepening from orange to reddish brown. Your only job now is to protect it. Keep water off the fresh design for the first twelve hours, then avoid soap, scrubbing and exfoliation on that skin. A thin layer of natural balm or oil before showering shields the stain, and a warm hand always develops richer than a cold one. For the full routine that squeezes the darkest possible colour out of a design, see how to darken mehndi and make the stain last.
Where the time actually goes
A first design on one hand, start to peak colour. Beginners always overestimate the drawing and underestimate the waiting.
Common beginner mistakes
Almost every disappointing first result traces back to one of a small handful of errors, and each one is easy to avoid once you can name it. Read these before your first attempt and you will skip most of them.
| Do this | Not this |
|---|---|
| Wash and dry the skin bare | Applying over lotion, oil or sunscreen |
| Open the tip to a pinhole | Cutting a wide opening that floods lines |
| Squeeze lightly and evenly | Pressing hard to force colour out faster |
| Leave paste on six to eight hours | Peeling it off after one or two hours |
| Scrape the dry paste away | Washing it off under the tap |
| Keep the fresh stain warm and dry | Getting it wet in the first twelve hours |
Where to go next
You now have the whole foundation: clean skin, a controlled cone, the teardrop that builds every shape, and the drying and aftercare that turn a drawing into a lasting stain. The next move is to draw a real design rather than practise shapes. Start with the diagonal Arabic strip, since it forgives shaky lines and needs only the shapes you have already learned, then build up texture with filling patterns. Real henna rewards patience over speed, so give your first designs the hours they need and the colour will follow.
Mehndi designs in pictures
A few real examples worth saving. Screenshots communicate far better than words, so take the ones you like to your artist.
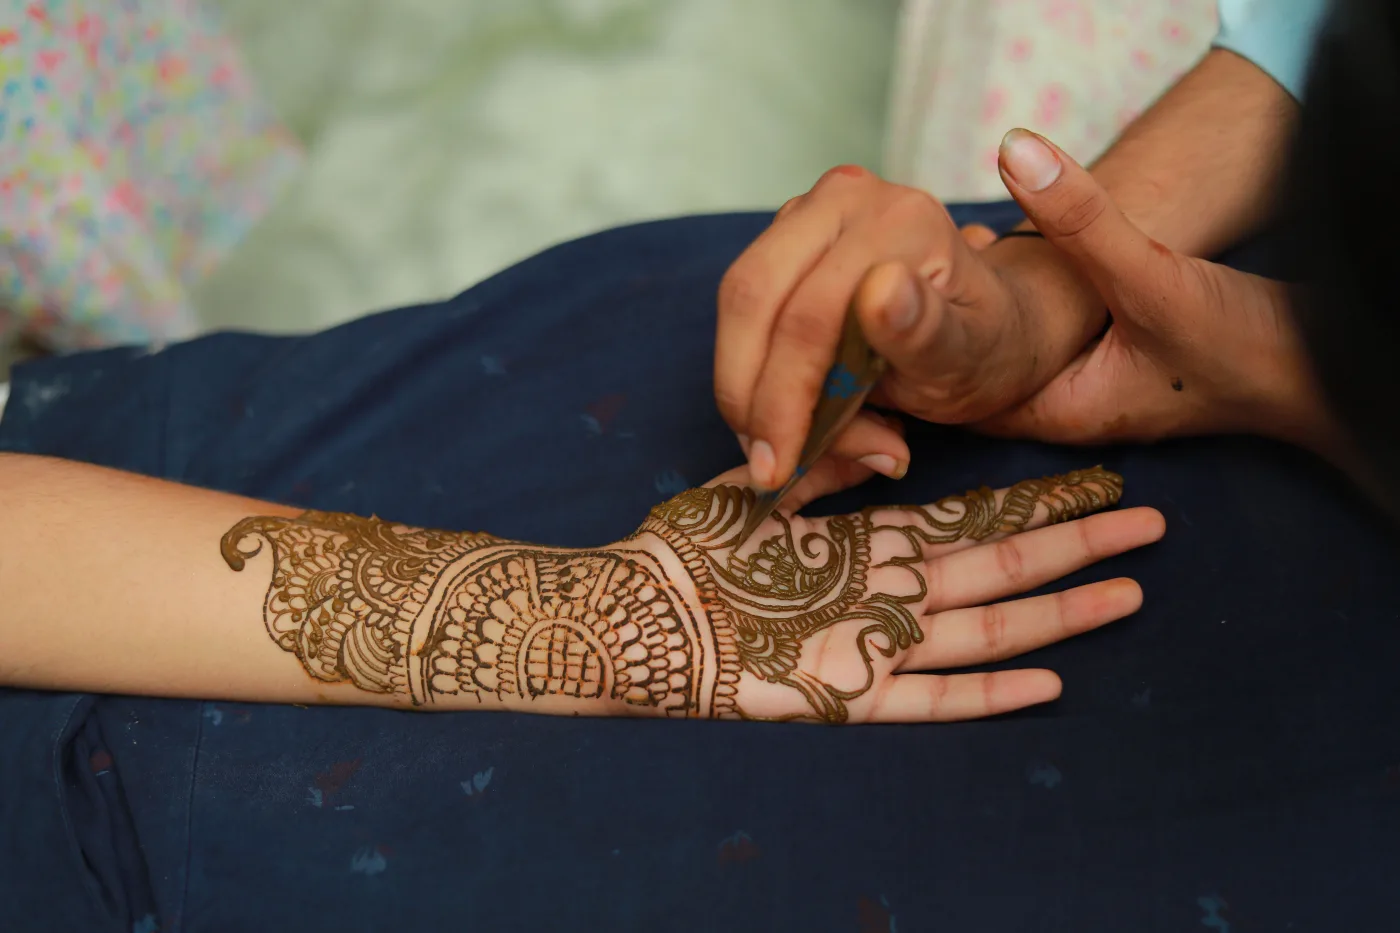
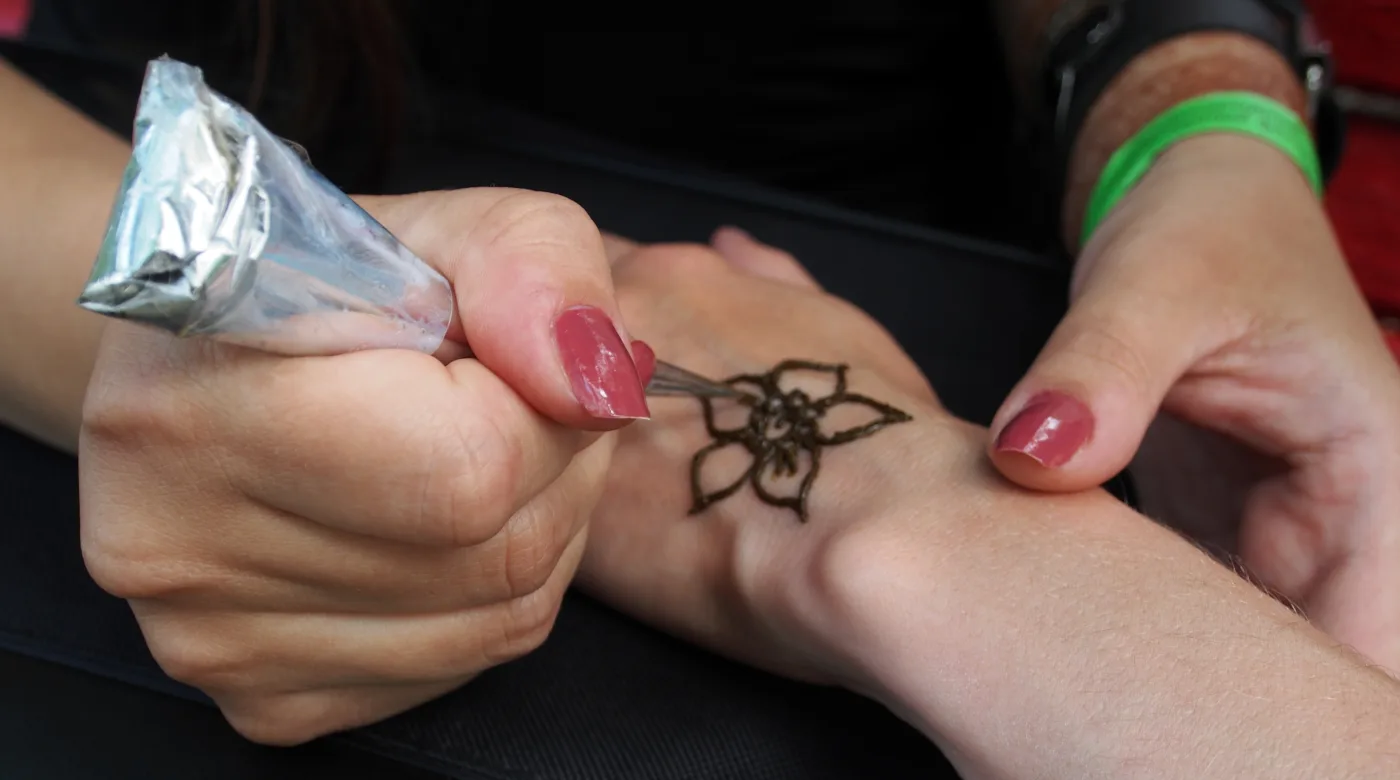
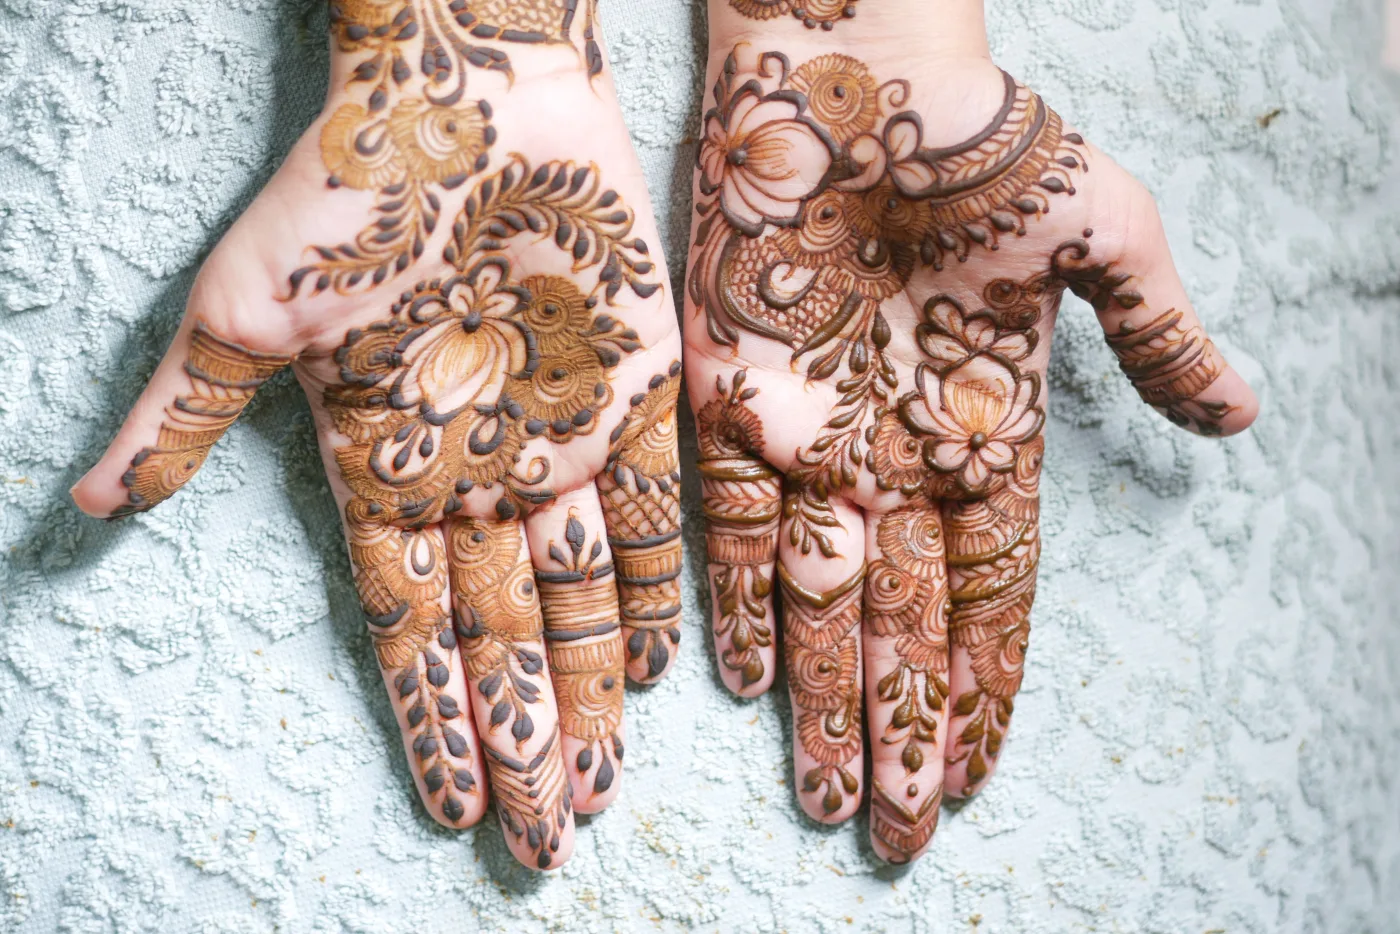
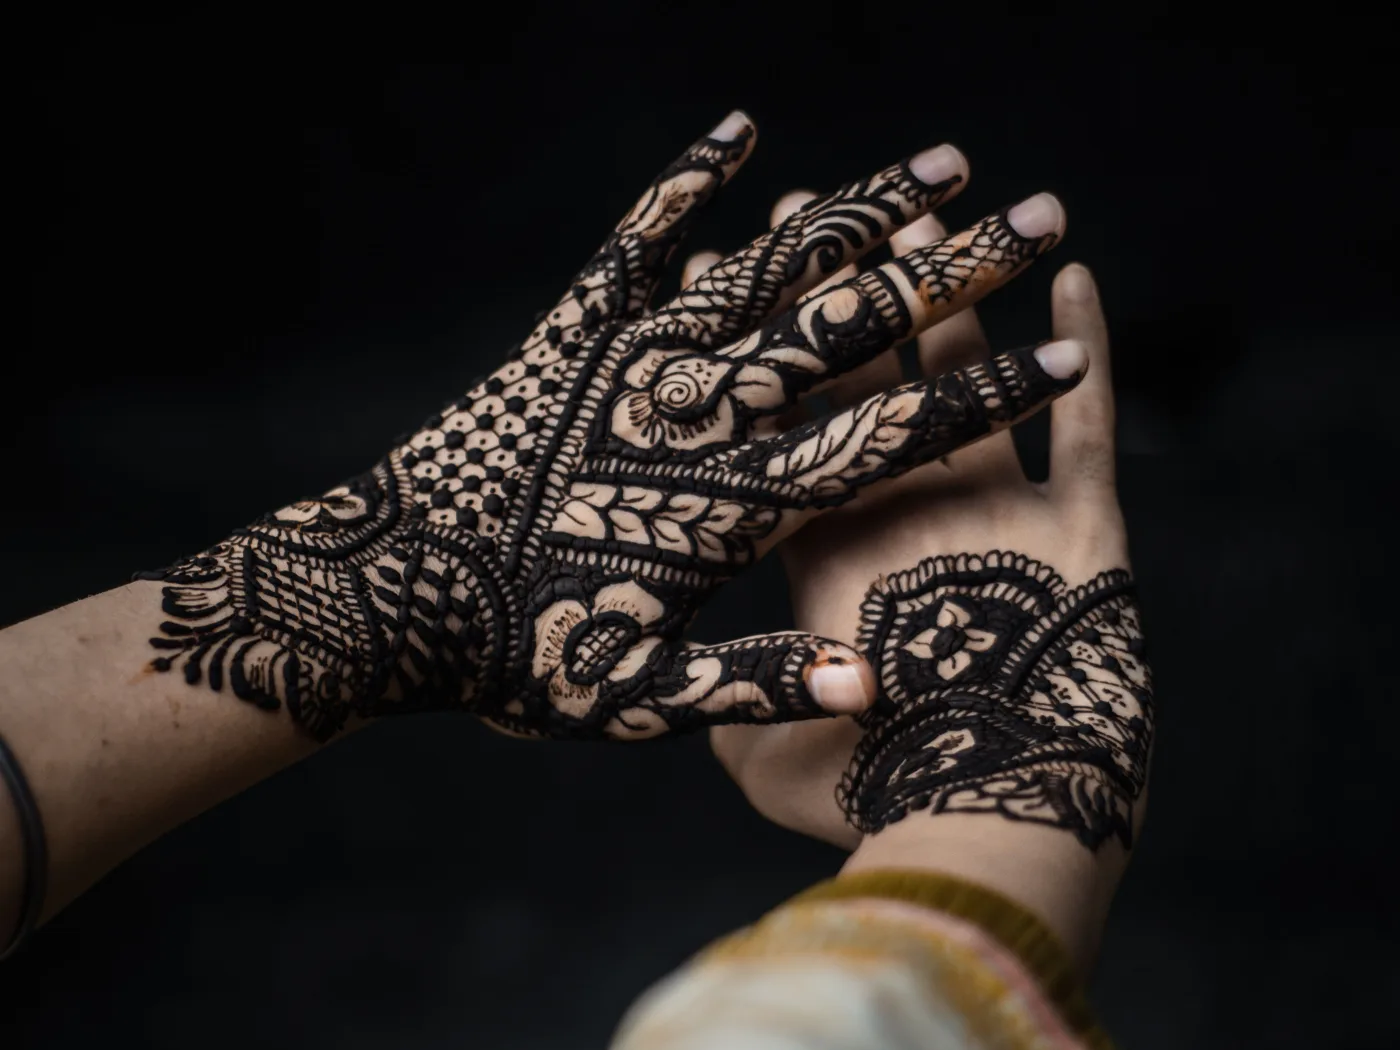
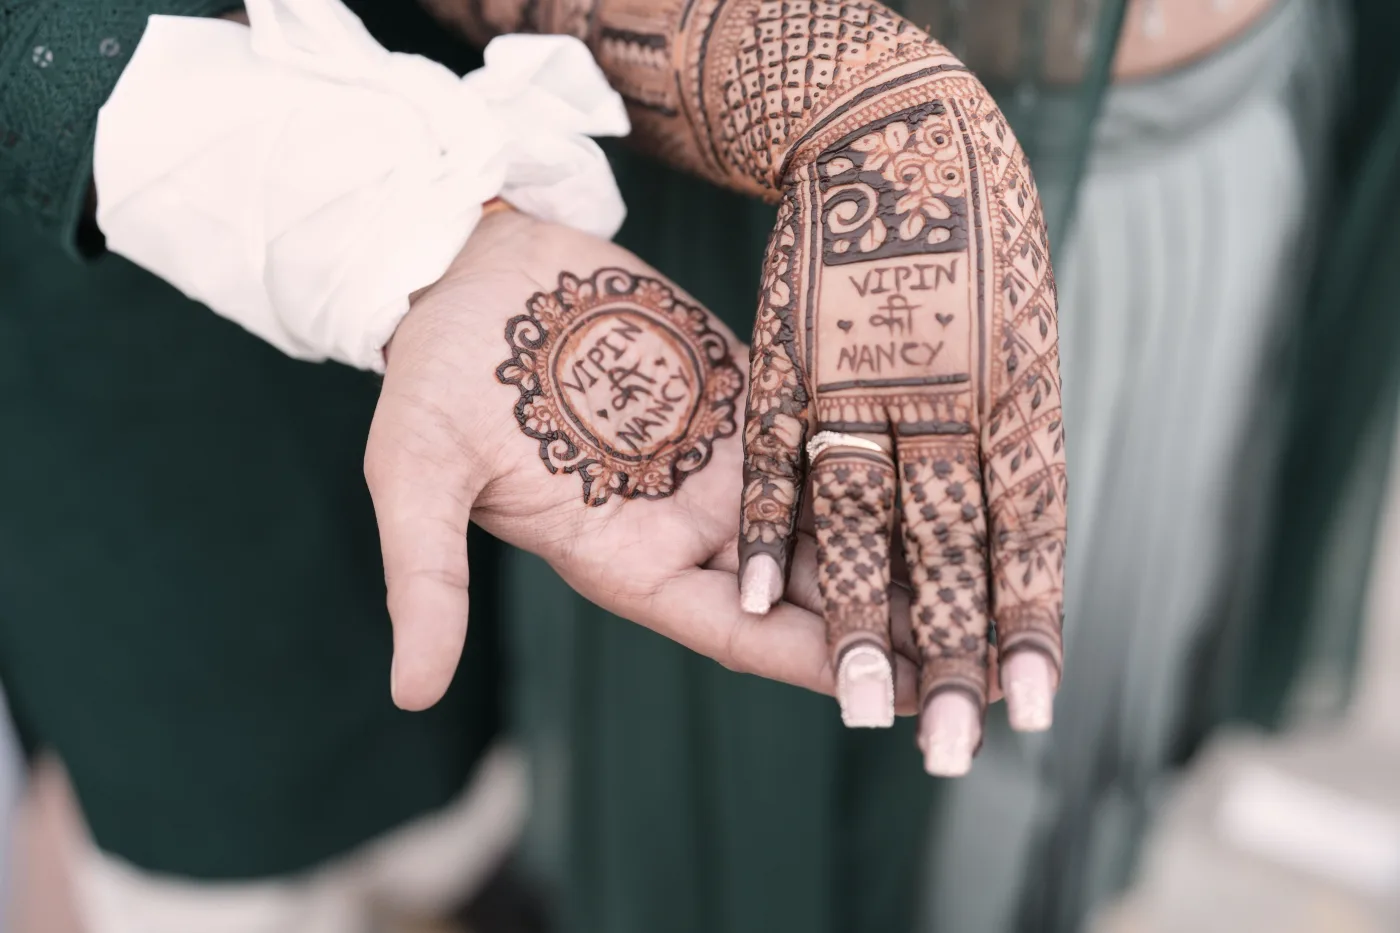
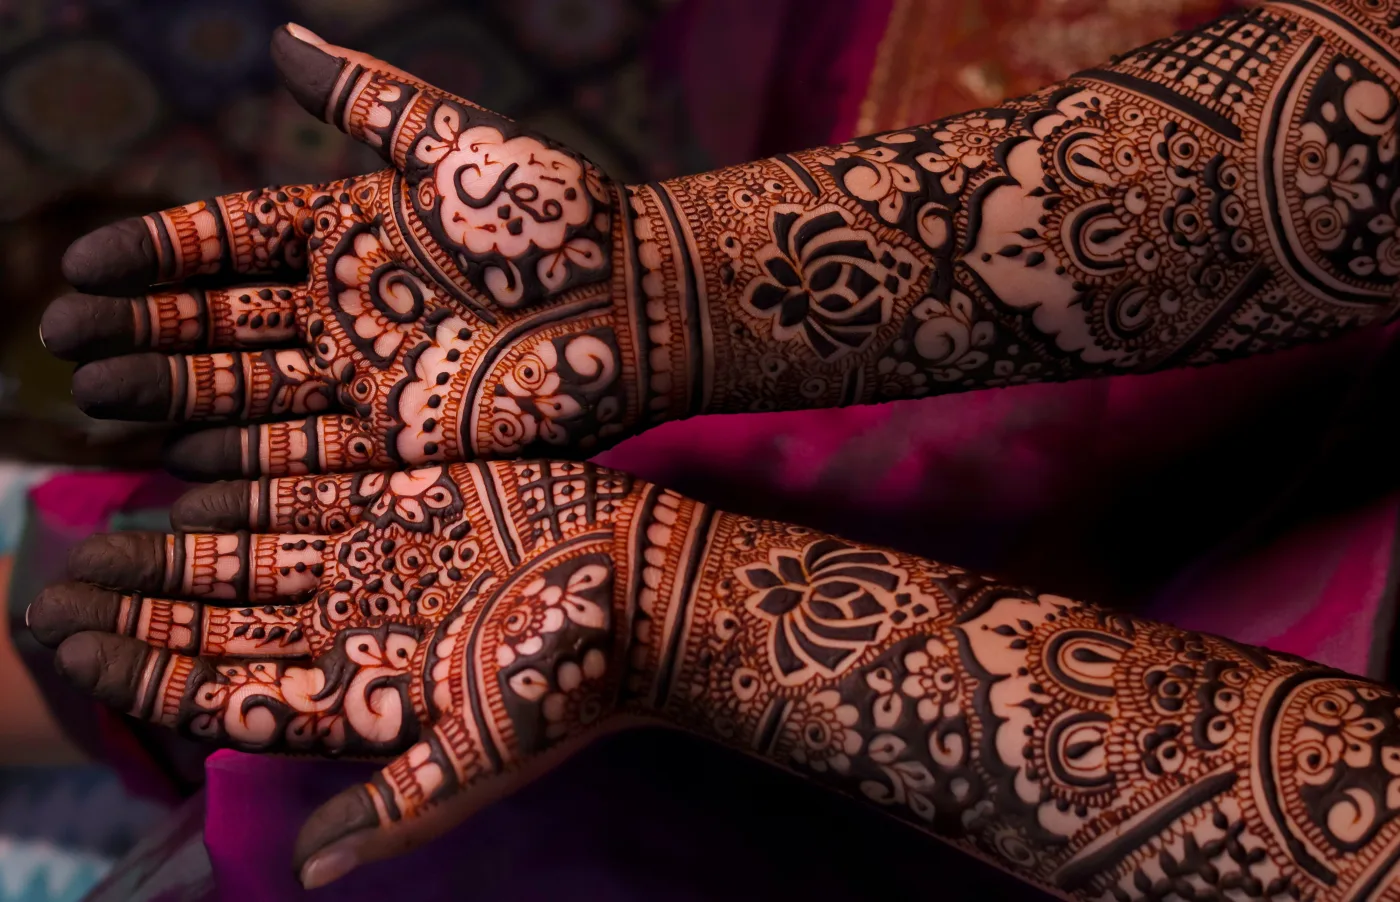
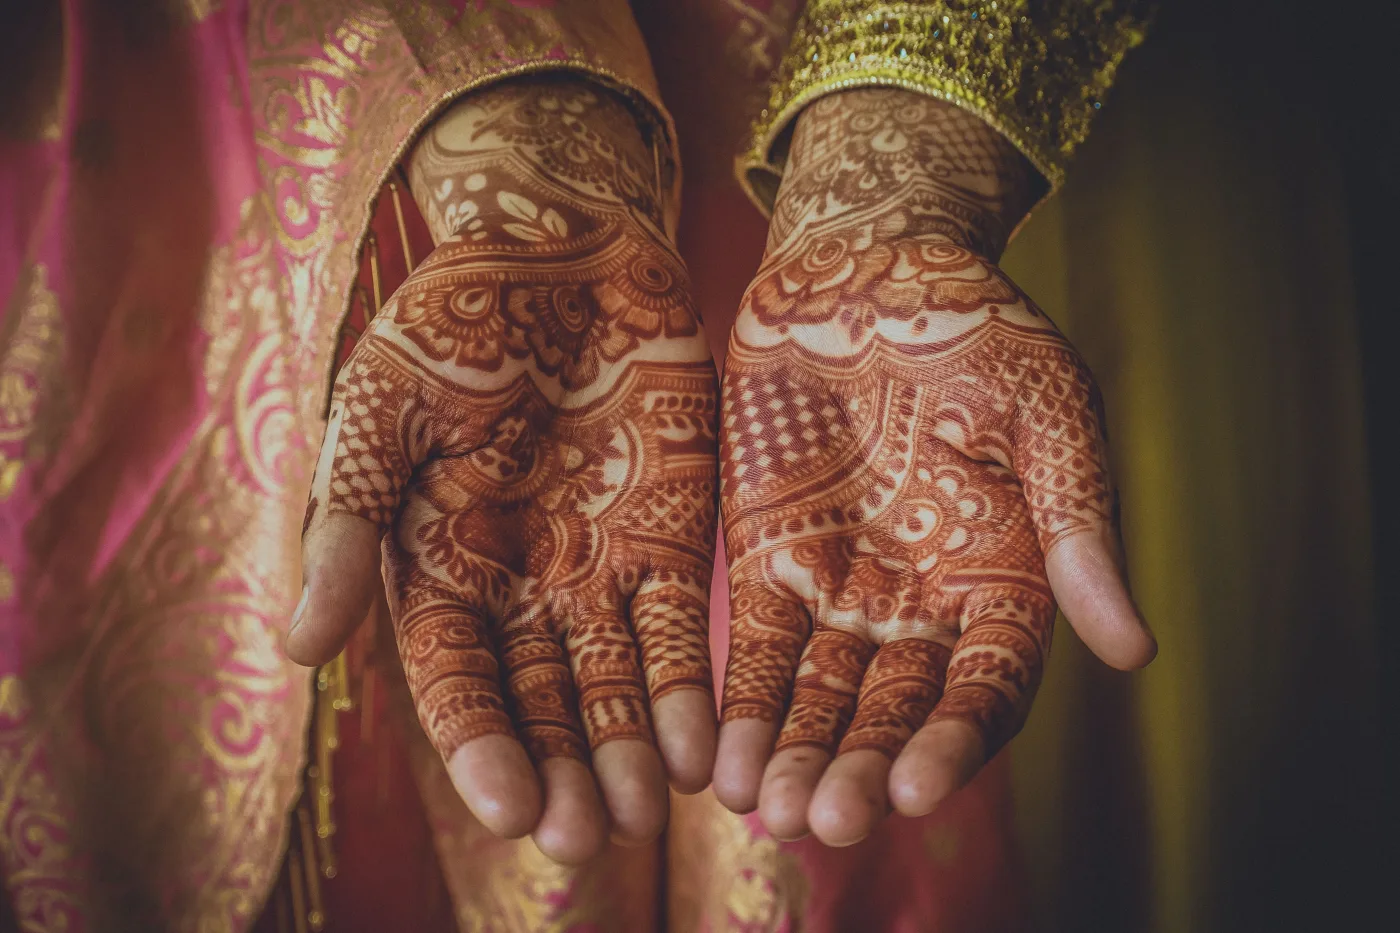
Photos provided by Pexels.
Frequently asked questions
How long does it take to learn to apply mehndi?
You can draw a simple, recognisable design on your first afternoon once you can control the cone. Clean lines and confident shapes take a few sessions of practice on paper and skin. The fundamentals in this guide, skin prep, cone handling and aftercare, are learned in one sitting; the artistry then grows with every design you attempt.
Why is my mehndi colour so light?
Almost always because the paste came off too early or got wet. Colour depth is about contact time and warmth, not pressure. Leave the paste on for six to eight hours, scrape rather than wash it off, and keep water away for the first twelve hours. Cold skin and old, dried-out cones also give pale results.
Can I apply mehndi on any part of the body?
Yes, though the colour varies. Palms, fingers and the soles of the feet stain darkest because the skin there is thickest, while the forearms, back and thinner skin take a lighter shade. Wherever you apply it, prepare the skin the same way: wash it bare, dry it fully, and skip any lotion beforehand.
How do I fix a mistake while the paste is still wet?
Lift the stray paste off gently with a cocktail stick or the corner of a tissue, working from the edge inward so you do not smear it across clean skin. Let the spot dry, then draw over it. Do not wipe with a wet cloth, because that spreads the dye and can leave a faint ghost stain where you did not want one.
Is natural henna safe on skin?
Natural henna is a plant paste and is safe for most people, staining orange first and maturing to reddish brown over a day or two. It never stains black on contact. Anything sold as black henna that dyes instantly has been mixed with a chemical additive that can cause severe skin reactions, so avoid it entirely and do a small patch test if your skin is sensitive.
How long does a mehndi design last?
A well-developed stain lasts roughly one to three weeks, fading gradually as the top layer of skin naturally renews. Designs on the palms and fingers last longest and darkest; those on thinner skin fade sooner. Keeping the area away from soap, scrubbing and frequent water helps it stay rich for longer.
Have a question or a topic to suggest?
We read every message. Tell us what you would like to see next on the blog.
Get in touchYou may also like
Mehndi Filling Patterns: 20 Ways
Learn 20 mehndi filling patterns, from jaali net and dot stipple to fish scales and faked shading, plus when to use each and how to combine them cleanly.
Arabic Strip Mehndi: Step by Step
A step-by-step Arabic mehndi tutorial for the classic diagonal strip: plan the line, lay the vine, hang the motifs, add fills, then time the drying.
How to Make Henna Paste
A step-by-step henna paste recipe plus the chemistry behind it: body-art powder, mild acid, dye release, terpene oils, straining, cones and freezing.